How to Post Videos from YouTube to Instagram and Go Viral
DailyShorts AI

If you’re wondering how to post videos from YouTube to Instagram, the golden rule is to repurpose, not just repost. It’s a subtle but crucial difference. You can’t just drop a horizontal, 10-minute video into a vertical, 90-second world and expect it to work. The whole game is about downloading your original file, re-imagining it for a vertical screen, and cutting it down to a bite-sized clip that grabs attention immediately.
Why Your YouTube Content Belongs on Instagram
It's easy to fall into the trap of treating YouTube and Instagram like two separate kingdoms. But in reality, your best content can—and should—thrive in both places. This isn't about lazily recycling clips to fill a content calendar. It's a strategic move to work smarter, not harder, by giving your proven winners a second life.
By adapting your long-form YouTube videos for Instagram's fast-paced formats, you're tapping into a massive, highly engaged audience that might have never stumbled upon your main channel. You’re simply meeting people where they’re already spending their time.
Tapping into a Massive Audience Overlap
Here’s the single most compelling reason to bridge this gap: an incredible 76.9% of Instagram's users are also active on YouTube. That’s not a small crossover; it’s a superhighway of shared viewership. Think about it—almost nobody sticks to just one platform anymore. The audience you worked so hard to build on YouTube is almost certainly scrolling through Instagram Reels at this very moment.
When you bring your YouTube content over to Instagram, you're not just fishing for new fans. You're re-engaging your existing community in a format they love.
By ignoring Instagram, you're essentially leaving views on the table from followers who already like your stuff but prefer to consume it in short, vertical bursts.
Deepen Community Bonds and Drive Traffic Back Home
Instagram also gives you a ton of interactive tools that YouTube just doesn't have. We're talking about things like polls in Stories, Q&A stickers, and the uniquely conversational back-and-forth you see in Reels comments. These features are designed to turn passive viewers into active participants.
This strategy is a powerhouse move, especially when it comes to video marketing for small businesses↗. A well-crafted Reel can do so much more than just get views. You can use it to:
- Tease a longer video: Give a sneak peek of that big YouTube premiere you have coming up.
- Highlight the best moments: Pull out the single most powerful quote or the funniest outtake.
- Drive traffic back to YouTube: End with a strong call-to-action like, "Full tutorial is live now! Link in bio to watch."
This creates a brilliant feedback loop. Your Instagram presence helps grow your YouTube channel, while your deep library of YouTube content provides a near-endless supply of killer material for Instagram. It’s a win-win that boosts engagement across the board.
Getting Your Video Ready for its Instagram Debut
Alright, let's get down to business. You can't just throw a YouTube video onto Instagram and expect it to work. The two platforms are completely different worlds. Think of it this way: YouTube is the cinema, and Instagram is the high-energy trailer. Your job is to transform that cinematic experience into a bite-sized, vertical clip that stops the scroll.
This prep work is absolutely crucial. Get it right, and your content will feel like it was born on Instagram. Get it wrong, and it’ll stick out like a sore thumb, screaming, "This is just an ad for my YouTube channel!"
First things first, you need the video file. The absolute best-case scenario is having the original, high-resolution file sitting on your hard drive. That's your golden ticket to the best quality. If you can't find it, don't sweat it. Just head over to your YouTube Studio, click on the "Content" tab, find the video, and hit the "Download" option. Easy peasy.
One major caveat here: We're talking about your own content. Grabbing someone else's video and reposting it is a fast track to copyright strikes, content takedowns, and potentially even getting your account suspended. This whole guide is about getting more mileage out of the awesome stuff you created.
Thinking Vertically: The Reframe
Once you have the video file, the most critical change you'll make is the aspect ratio. A standard 16:9 YouTube video looks downright awkward on Instagram, usually squished between chunky black bars. We need to reframe it for a vertical-first audience.
This is the basic flow we're aiming for:
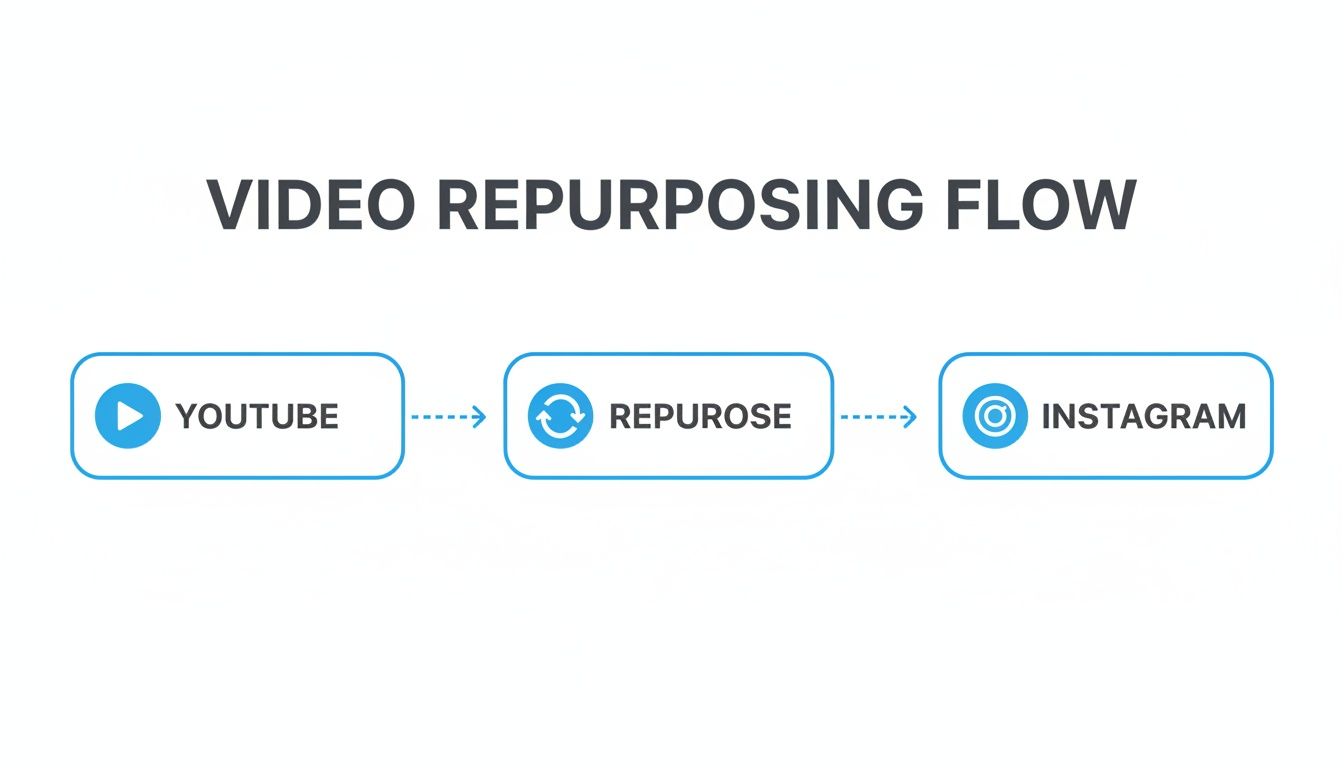
As you can see, there's a dedicated "repurpose" step in the middle. This is where the magic happens.
You have two main targets for your new format:
- 9:16 (Full Vertical): This is the holy grail for Instagram Reels and Stories. It takes over the entire phone screen, creating that immersive experience that keeps people glued to their device.
- 4:5 (Portrait): For in-feed video posts, this is a fantastic choice. It commands more space on the feed than a classic 1:1 square post, making your video much harder to ignore as people scroll.
When you're reframing, the key is to make sure the star of the show—whether it's you, a product, or a specific action—stays front and center. Sometimes this takes a bit of creative editing. For example, if your original video had a wide shot of two people talking, you might need to split the screen or cut back and forth between them to keep the focus tight in the new vertical frame.
Finding the "Golden Nugget"
With your video properly framed, it's time to trim the fat. A 10-minute deep dive from YouTube has zero chance of survival on a platform where attention spans are measured in seconds. Your mission is to find a "golden nugget"—a single, powerful, self-contained moment that delivers value in 30 to 90 seconds.
We go into more detail on this in our guide on how to get clips from YouTube videos↗, but the core idea is to find one killer tip, a hilarious outtake, or a powerful quote that can stand on its own.
This isn't just a gut feeling; the numbers back it up. People spend more than 50% of their time on Instagram watching Reels, which consistently pull in the highest engagement rates on the platform. By slicing up your proven YouTube content, you're tapping directly into this massive audience.
Think of each clip as a powerful teaser. It performs beautifully on Instagram, grabbing new eyeballs, and it also acts as a breadcrumb trail, leading curious viewers back to your full-length content on YouTube. It’s a win-win.
Making Your Clip Shine on Instagram
Alright, you’ve picked your clip, trimmed the fat, and framed it for a vertical screen. That’s a solid start, but this next part is where the magic really happens. Just tossing a raw clip onto Instagram is a missed opportunity. We need to polish it up so it feels like it belongs on the platform.
Let’s get one thing straight right away: most people are scrolling Instagram with their sound off. This isn't a theory; it's a fact of life on the platform. If you don't add captions, you’re basically hoping people can read your lips, and that’s a losing game.
Grab Their Attention with Text and Graphics
Captions are non-negotiable, but great on-screen text does more than just transcribe. It’s a powerful tool for holding attention. Think bigger than just a line of subtitles at the bottom.
Consider adding dynamic text that pops onto the screen to emphasize a key phrase or a surprising statistic. You can also add a simple progress bar along the top or bottom edge. This little visual cue tells viewers how much is left and makes them far more likely to watch until the very end.
Little touches like these are what separate a polished, professional Reel from something that looks like it was just thrown together. If you're serious about this, learning how to clip YouTube video content for maximum ROI↗ is a game-changer.
Key Takeaway: Edit your video so it tells a complete story even on mute. Use captions, text callouts, and other visual aids to make it impossible to misunderstand or ignore.
The Original vs. Trending Audio Dilemma
Now, let's talk sound. Even though many watch silently, audio is still a huge piece of the puzzle, both for engaged viewers and for the Instagram algorithm. You’ve got two main choices here.
- Stick with Your Original Audio: If your clip is a talking-head segment or a product demo where the sound is critical to understanding the content, keep it. The value is in what you’re saying.
- Use Trending Audio: If your video is more about the visuals and the original sound isn't essential, adding a trending song can give you a serious boost in visibility. The algorithm loves to push content that uses popular tracks.
Here’s my rule of thumb: If your words are the hero, keep your audio. If your visuals are the hero, find a trending sound that fits the mood. This single decision can have a massive impact on your reach.
Add Your Brand's Fingerprint
Last but not least, don't forget to brand your clip. I’m not talking about plastering a giant, obnoxious logo over everything. The best branding is subtle and consistent.
Here are a few easy ways to do it:
- Consistent Fonts & Colors: Always use your brand's specific fonts and color palette for any text you add.
- A Tasteful Watermark: A small, semi-transparent version of your logo tucked into a corner is usually all you need.
- Branded Intro/Outro: A quick, one-second branded animation at the start or finish can create a really professional feel.
These small, consistent details build brand recognition over time. People will start to recognize your content in their feed before they even see your name. For more ideas on building a strong narrative, check out our guide on turning a script to video↗; it's packed with tips for making content that truly resonates.
Making Your Post Algorithm-Friendly
Let's be real: a brilliantly edited video is just the start. If you want to get real traction when you post your YouTube clips on Instagram, you have to package them in a way the algorithm understands and rewards. This means going beyond the video itself and nailing everything that surrounds it—the caption, the hashtags, even the exact moment you hit publish.
This final step is what separates a video that gets a handful of views from one that explodes and reaches thousands of new people. Think of it as giving Instagram every possible green light to show your content to a much wider audience.
Write Captions That Spark a Conversation
Your caption isn't a summary; it's a conversation starter. Its main job is to get people talking in the comments. Instead of just stating what the video is about, ask a question that people actually want to answer.
For instance, if your video is a short clip from a recipe tutorial, don't just say, "Here's my famous chili recipe." That’s a dead end. Instead, try something like, "My secret chili ingredient is a pinch of cinnamon. What's the one weird ingredient you swear by in a classic recipe? Drop it in the comments!"
See the difference? That simple change transforms your post from a one-way announcement into a two-way dialogue. That's gold for the algorithm. The more comments and engagement you get right after posting, the more Instagram will push your content out.
The best call-to-action isn't always "link in bio." Sometimes, the most powerful CTA is just a good question. It builds a community, drives up your comment count, and tells the algorithm your content is creating genuine human connection.
Pick Hashtags That Actually Get You Seen
Stuffing your post with the biggest hashtags you can find is a rookie mistake. Using a tag like #video, with its 500 million posts, is like whispering in a stadium—no one is going to hear you. The real trick is using a strategic mix of relevant, niche hashtags where your content can actually stand out.
I’ve had the most success with a tiered strategy:
- Broad Tags (1-2): These are high-volume tags for your overall industry. Think
.Code Snippet#ContentCreationTips - Specific Tags (3-5): These get more focused on the video's topic, like
orCode Snippet#VideoRepurposing
.Code Snippet#YouTubeToInstagram - Niche Tags (3-5): These are hyper-targeted to a small, passionate community where you can easily rank. For example,
orCode Snippet#CreatorWorkflowHacks
.Code Snippet#ReelsStrategyForYouTubers
This balanced approach gives you a shot at reaching a wide audience while ensuring you connect with the people who will care the most about your specific message.
Time Your Post for Maximum Impact
Posting at the right time can make or break your video's performance. Dropping a new Reel when your audience is asleep is a guaranteed way to kill its momentum before it even has a chance.
Your first stop should be your Instagram Insights. Go in there, see when your followers are most active, and schedule your posts for those peak windows. For a deeper dive, check out these guides on the best times to post on Instagram↗.
Consistency also plays a huge role. The algorithm loves accounts that show up regularly. If you want to get serious about planning your content, our guide on how to schedule social media posts↗ is the perfect place to start building a reliable content calendar.
And the data shows this effort pays off big time. In 2023, Instagram Reels saw an average engagement rate of 1.23% and a reach rate over 30%, leaving other formats in the dust. With users now spending more than 50% of their time on the platform watching short-form video, you’re tapping directly into the content people want to see.
Your Instagram Video Optimization Checklist
Before you hit that 'Publish' button, run through this quick checklist. It’s a simple way to make sure you’ve given your repurposed video every advantage to succeed on Instagram.
| Optimization Element | Why It Matters | Pro Tip |
|---|---|---|
| Compelling Cover Image | It's the first thing people see. A blurry or confusing cover gets scrolled past instantly. | Create a custom cover with a bold headline directly in your editor. Make it intriguing. |
| Engaging Caption Hook | The first line determines if someone reads the rest or keeps scrolling. | Start with a question, a bold statement, or a relatable problem. |
| Call-to-Action (CTA) | Tells your audience what to do next, driving engagement or traffic. | Instead of just "link in bio," ask a question or prompt a "save" or "share." |
| Strategic Hashtags | Helps Instagram categorize your content and show it to new, interested audiences. | Use a mix of broad, specific, and niche hashtags. Avoid overly saturated tags. |
| Optimal Posting Time | Maximizes initial visibility and engagement when your audience is most active. | Check your Instagram Insights for peak follower activity times. |
| Tag Relevant Accounts | Notifies other creators or brands, potentially leading to shares and increased reach. | Only tag accounts that are genuinely featured or relevant to the video content. |
| Add to "Reels" Tab | Ensures the video appears on your profile's dedicated Reels grid for long-term visibility. | Always toggle "Also share to Feed" on to maximize its initial reach. |
By checking these boxes every single time, you're not just posting a video; you're launching a piece of content designed to win.
Avoiding the Classic Repurposing Pitfalls
Look, repurposing content is one of the smartest things you can do to grow your brand, but a few simple missteps can completely derail your efforts. I've seen it happen time and time again. Let’s walk through the most common mistakes people make when moving videos from YouTube to Instagram so you can sidestep them entirely.
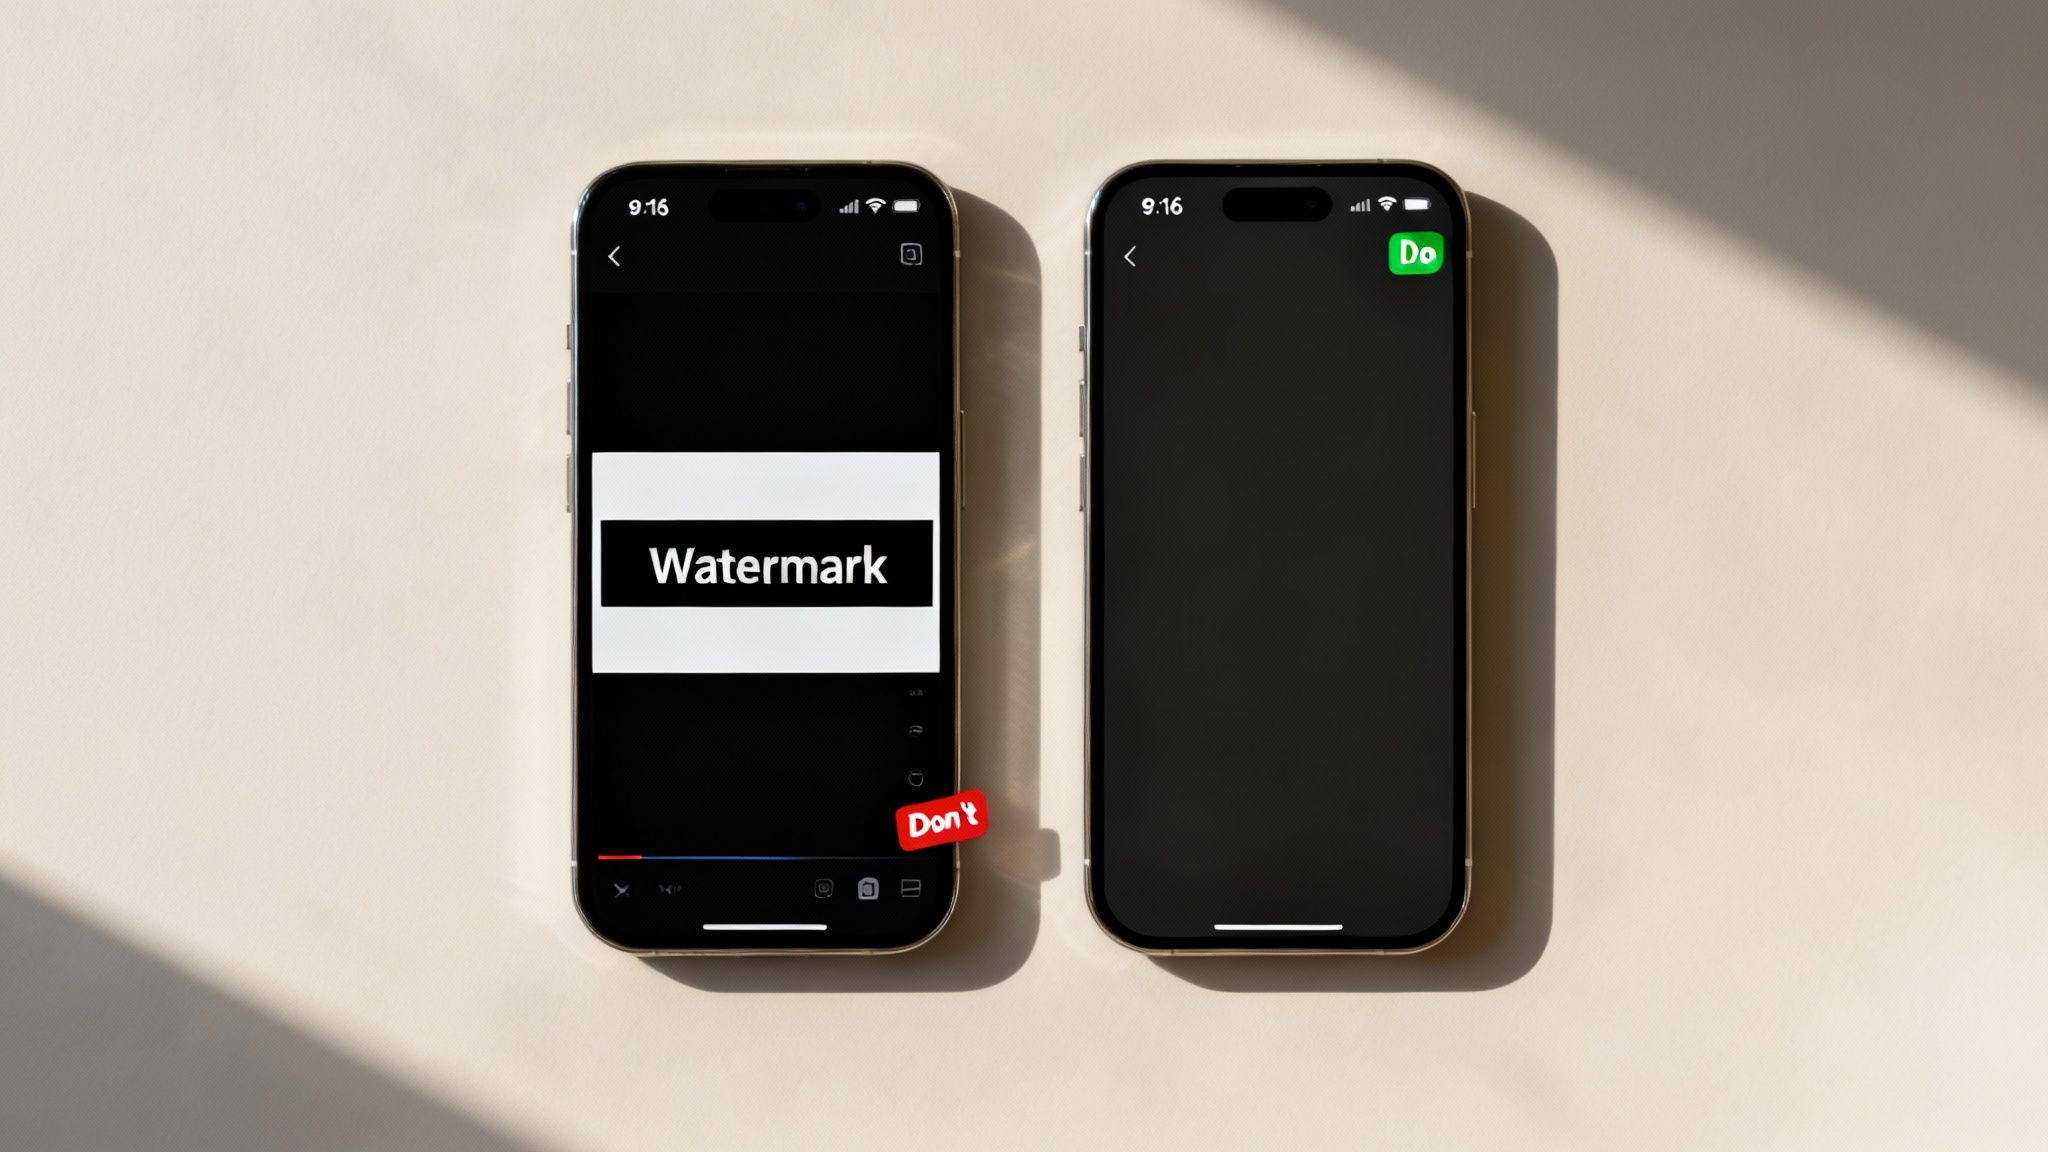
The biggest, most glaring error is cross-posting with a competitor's watermark. If you upload a Reel that still has the TikTok logo or a YouTube Shorts watermark plastered on it, you're signaling to Instagram's algorithm that your content isn't native. The platform's goal is to keep users on their app, so it will actively penalize and suppress videos that look like they were made for someone else.
The fix couldn't be easier: always work from your original, clean video file. Before any branding gets baked in, just download the source file. It's that simple.
The Dreaded Black Bars
Another dead giveaway of a lazy repurpose is posting a horizontal video directly to Reels or Stories. This creates those awful black bars at the top and bottom of the screen. It immediately breaks the user experience and screams "I didn't bother to format this for you." Viewers on Instagram are conditioned to expect a full-screen, immersive video, and anything less just feels out of place.
Solution: Just take the extra few minutes to properly reframe your video to a vertical 9:16 aspect ratio. It’s not hard. Make sure your subject is centered and the action fills the screen. This one tiny adjustment makes your content look intentional and professional, which can make a world of difference for your watch time.
Forgetting How People Actually Watch Videos
Here's a stat that should change how you think about video: over 80% of users browse Instagram with the sound off. If your video's message is locked in a voiceover, you're missing out on a massive chunk of your audience. On the other hand, if your original audio isn't that important, you're missing a golden opportunity to jump on a trending sound.
To get this right, just stick to these two rules:
- Always burn captions directly into your video. Make them big, clear, and easy to read. Don't just count on the platform's auto-generated ones.
- If the original sound isn't critical to the story, swap it for trending audio. This is one of the easiest ways to give your content a little push from the algorithm.
Getting the hang of these platform-specific nuances is crucial. For a deeper dive into creating effective short-form content, check out our guide on how to get views on YouTube Shorts↗—many of the same principles apply directly to making killer Reels.
Let's Tackle Your Burning Questions About YouTube to Instagram
As you start turning your YouTube videos into Instagram content, you're bound to run into a few common questions. I see them pop up all the time. Getting these sorted out from the start will save you a ton of frustration and help you build a much smarter content strategy.
Let's dive right into the big ones.
Can I Just Post My Entire YouTube Video on Instagram?
The simple answer is no—and honestly, you wouldn't want to. Instagram is a completely different beast. It's all about quick, punchy content that grabs attention fast.
While you can post longer videos to your feed, Reels max out at 90 seconds, and each Story slide is capped at 60 seconds. Trying to cram a 10-minute deep dive from YouTube onto a platform designed for bite-sized moments just doesn't work. It’s like trying to fit a square peg in a round hole.
The real magic happens when you find a "golden nugget" inside your longer video. Look for a powerful 60-second tip, a surprising stat, or a genuinely funny moment. Snip that out, reformat it for a vertical screen, and you've got a Reel that can tap into Instagram's massive discovery engine.
Is It Cool to Repost Someone Else's YouTube Video?
This one is a hard no. It’s not a gray area—it's a bright red line. Downloading and reposting content you didn't create is a direct violation of copyright law, not to mention a breach of both YouTube's and Instagram's terms of service.
The whole point of repurposing is to get more mileage out of your own hard work, not to borrow someone else's. The risks—getting your content taken down, your account suspended, or even facing legal trouble—are just not worth it. This guide is all about amplifying the amazing content you already own.
What's the Best Video Format for Reels, Stories, and the Feed?
You've got to format your video for where it's going to live on the app. A one-size-fits-all approach will kill your engagement before you even start.
Here's the breakdown:
- For Reels and Stories: Always, always go with a 9:16 vertical aspect ratio. This fills the entire phone screen, creating an immersive experience that keeps viewers locked in.
- For the Instagram Feed: Your best bet is a 4:5 vertical video. It takes up way more screen real estate than the old-school 1:1 square, making your content much more likely to stop someone mid-scroll.
Do I Really Need Fancy, Expensive Editing Software?
Absolutely not. That’s one of the biggest myths out there. The idea that you need to master something like Adobe Premiere Pro↗ to create great social videos is totally outdated.
In fact, some of the biggest creators I know edit everything right on their phones.
Apps like CapCut↗ and InShot↗ are powerhouses for trimming clips, adding slick captions, and dropping in music. If you'd rather work on a computer, Canva's↗ video editor is incredibly intuitive and gets the job done beautifully. You have everything you need to create pro-level content without spending a dime.
Ready to create stunning short-form videos without the editing grind? DailyShorts uses AI to turn your ideas into viral-ready Reels, Shorts, and TikToks in minutes. Start creating for free and see the magic for yourself.
Ready to create viral videos?
Start creating viral TikTok and YouTube Shorts with DailyShorts AI today.