How to Get Clips from YouTube Videos a Creator's Guide
DailyShorts AI
Think of your long-form YouTube videos as a goldmine. Right now, you're probably just scratching the surface, but buried inside every video are countless golden nuggets—perfect, shareable moments just waiting to be unearthed.
This guide is your map and your pickaxe. We're going to show you how to dig into your existing content and pull out clips that can fuel your growth across every platform. Learning how to get clips from a YouTube video isn't just a handy trick anymore; it's a fundamental strategy for any creator who's serious about growth.
The game has changed. With over 500 hours of content hitting YouTube every single minute, you need to be smarter about how your work gets seen. At the same time, YouTube Shorts is generating a staggering 70 billion daily views. That’s a massive audience you can tap into by repurposing what you've already created for TikTok, Reels, and Shorts.
This is all about turning one great video into dozens of powerful, vertical moments that can capture attention in a fast-scrolling feed.
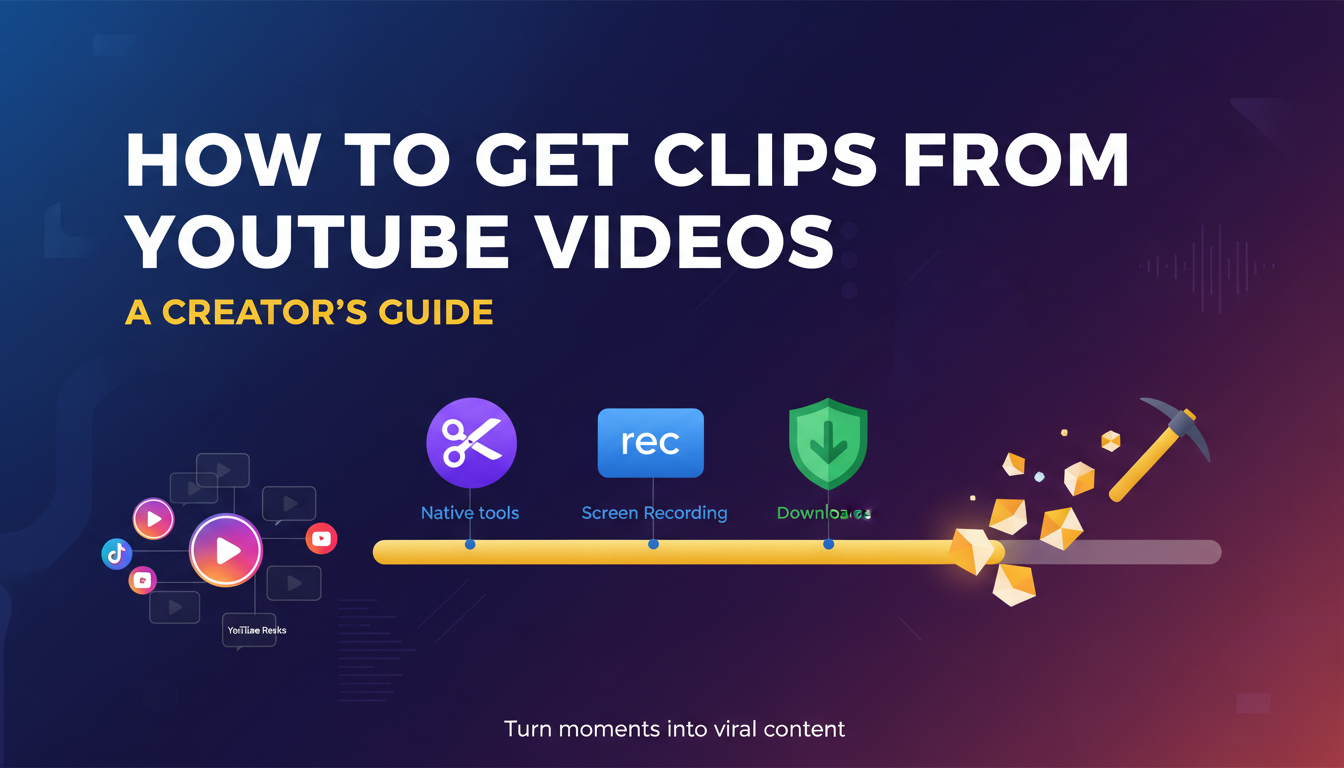
Choosing Your Clipping Path
So, where do you start? Your best method really depends on a simple question: are you clipping your own video or someone else's? This decision tree lays out your options clearly.

As you can see, if it’s your own content, YouTube’s built-in tools are usually your fastest and easiest bet. For everything else, you'll likely need to turn to external solutions like screen recording.
Choosing Your YouTube Clipping Method
Deciding on the right tool can feel overwhelming, but it boils down to what you need to accomplish. This table breaks down the most common methods to help you pick the perfect one for the job.
| Method | Best For | Pros | Cons |
|---|---|---|---|
| YouTube's "Clip" Feature | Quickly sharing a short segment (5-60s) of someone else's video on social media or with friends. | • Super easy and fast. • Directly links back to the original video. • No software needed. | • Can't download the video file. • Clip length is limited. • The creator can disable it. |
| YouTube Studio Editor | Trimming and editing your own uploaded videos to create new, shorter versions directly on YouTube. | • Seamlessly integrated. • Creates a brand new video URL. • Good for creating Shorts from long-form content. | • Only works for your own content. • Basic editing features. • Can be slow to process. |
| Screen Recording | Capturing any on-screen video content for offline editing, especially for commentary or reaction videos. | • Works on any video. • Full control over what you capture. • High-quality output is possible. | • Can be tedious. • Requires third-party software. • Potential for copyright issues. |
| Third-Party Downloaders | Saving an entire YouTube video to your computer for detailed offline editing and repurposing. | • Downloads the full, high-quality video file. • Maximum editing flexibility. • Great for creating multiple clips from one source. | • Use with extreme caution—potential for malware and copyright infringement. • Violates YouTube's Terms of Service. |
Ultimately, the right method is the one that fits your workflow. For quick shares, the native Clip feature is a winner. For repurposing your own library, stick with YouTube Studio. For everything else, screen recording offers the most control.
Transforming your best moments for Shorts, TikTok, and Reels is a powerful way to expand your reach, boost engagement, and drive new viewers back to your main channel. This isn't just recycling—it's giving your best ideas a second life. It can even open up entirely new revenue streams; in fact, a solid repurposing strategy is a key part of how you can make money with YouTube Shorts↗.
The core idea is simple: one great long-form video can fuel your social media calendar for weeks. By isolating key insights, funny moments, or powerful statements, you create a content engine that works smarter, not harder.
Now, let's dive into the practical, step-by-step methods you can start using today to turn your video archive into a growth machine.
Get to Know YouTube's Own Clipping and Editing Tools
Before you even think about downloading third-party software, let's talk about the powerful tools YouTube has built right into its platform. Honestly, for most creators, these are the best place to start. They're quick, safe, and designed to work seamlessly within the YouTube ecosystem, especially when you're working with your own videos.
Let’s break down the two main features you need to know. One is for grabbing and sharing quick moments from any video, and the other gives you surgical control over your own content for serious repurposing.
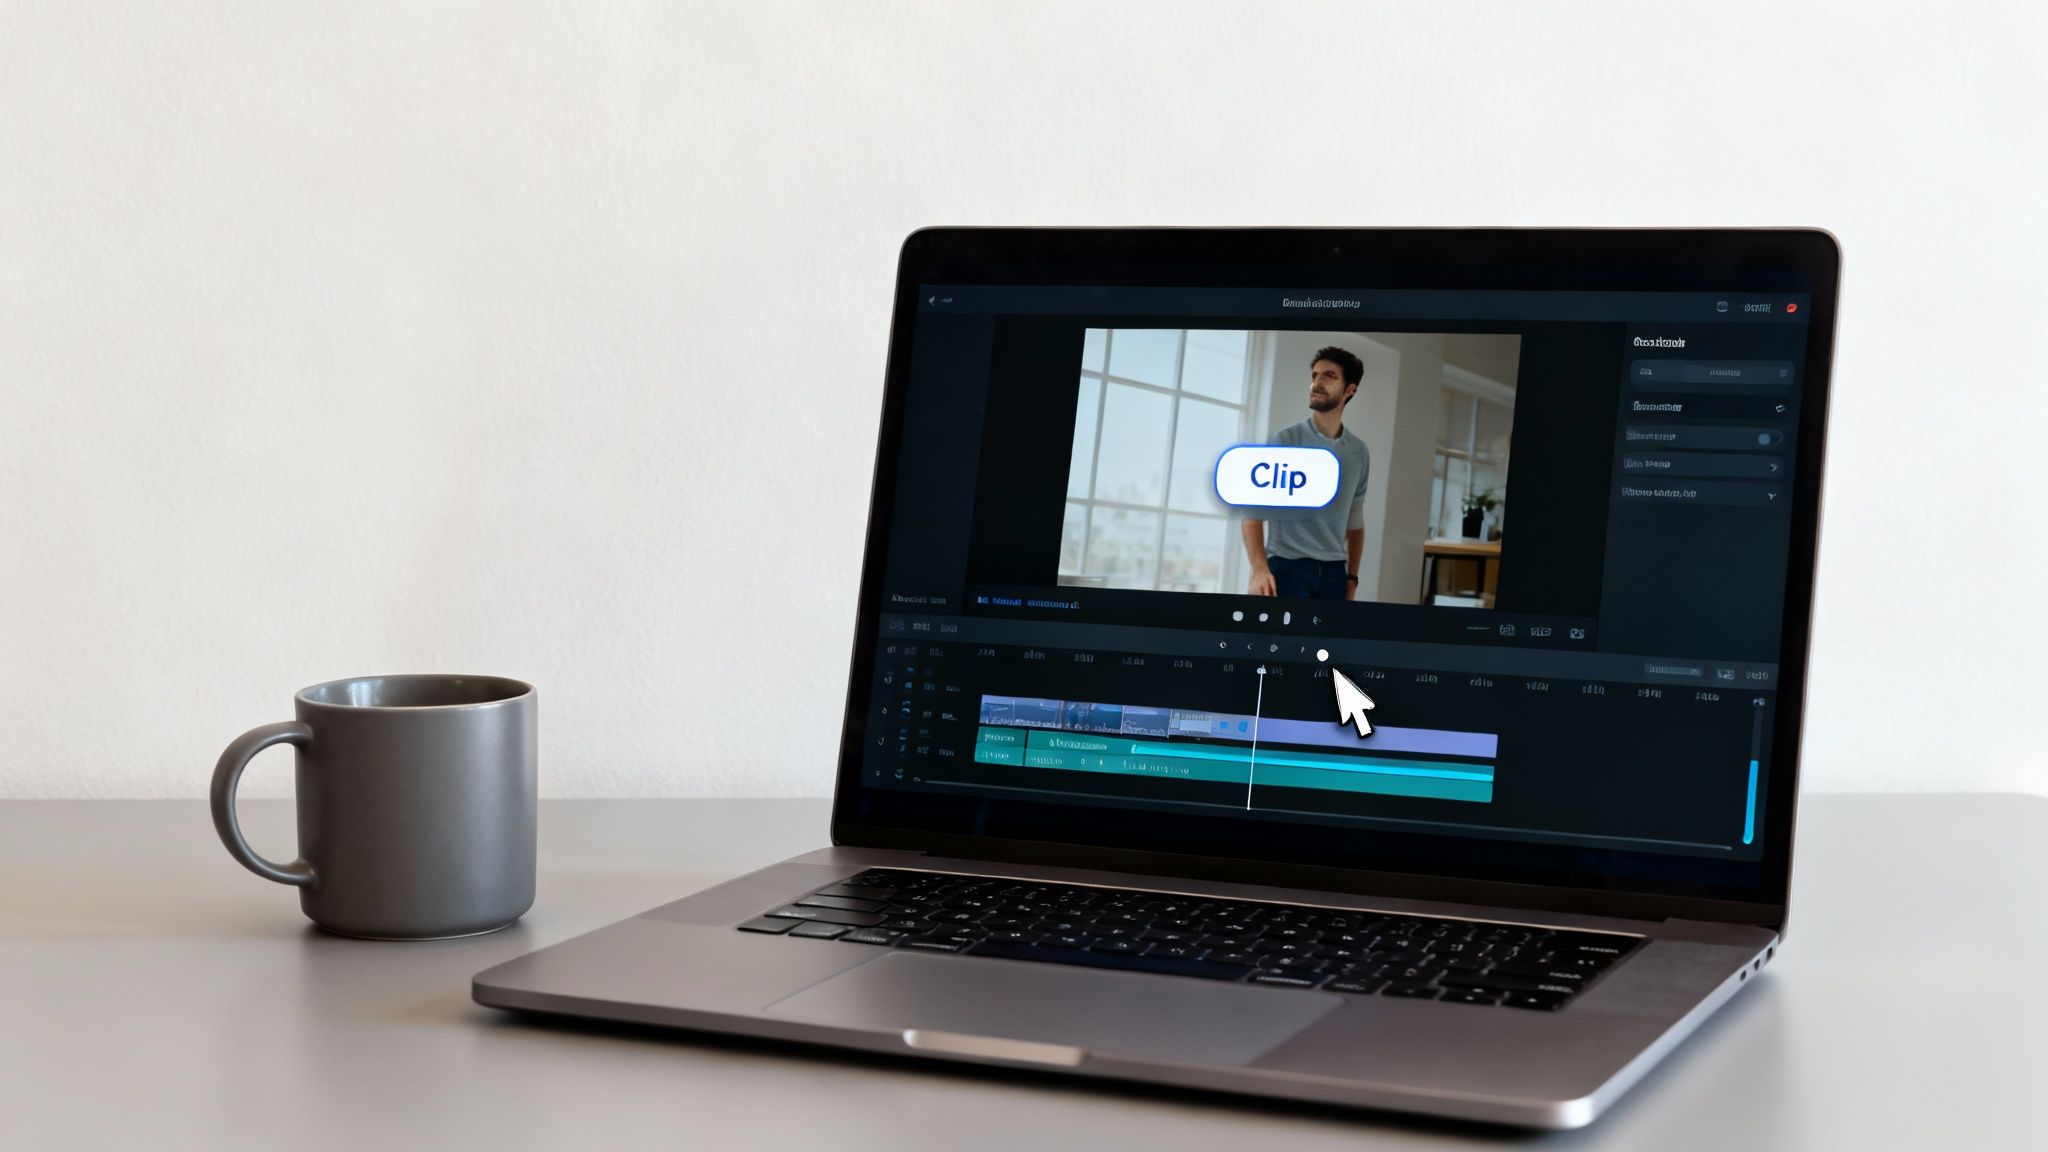
For Instant Sharing: The 'Clip' Button
You know that feeling when you're watching a video and a single moment is just perfect? That's what the Clip feature was made for. It lets you grab a 5-to-60-second segment from almost any public video and share it with its own unique link.
Now, this isn't about downloading a file. Think of it more like creating a shareable highlight. When someone clicks your clip link, it loops that specific moment right on the original video's page. This is a brilliant way to drive traffic back to the original creator. I use it all the time to share a killer punchline from a comedy special or a specific data point from a long documentary in a social media post.
Making a clip is incredibly easy:
- Just look for the "Clip" button (it looks like a pair of scissors) right below the video player.
- Once you click it, a simple editor pops up. Just drag the blue handles on the timeline to select the part you want.
- Give your clip a catchy title that tells people why they should watch it.
- Click "Share clip," and you've got a link ready to paste anywhere.
Pro Tip: The best clips are self-contained. They need zero context to make sense. The goal is to capture a complete thought or reaction that stands entirely on its own.
For Serious Repurposing: The YouTube Studio Editor
When you want to do more than just share a snippet—when your goal is to create brand-new content from your existing videos—you need to head over to the YouTube Studio. This is your mission control for content, and the 'Trim & Cut' feature is your best friend.
This is where the real repurposing magic happens. You can pull out a fantastic story, a detailed "how-to" section, or a great answer from a Q&A and save it as a completely new video. This is my go-to method for creating YouTube Shorts from my longer videos without ever leaving the site.
Here’s the workflow I follow to find and extract these golden nuggets from my own content:
- Hunt for Hooks: I re-watch my video specifically listening for those powerful opening lines or questions that immediately grab you. These are perfect intros for Shorts.
- Find the Payoff: I look for the climax of a story, the "aha!" moment, or the punchline of a joke. These are the moments that deliver instant satisfaction.
- Isolate the Core Value: I pinpoint the single most important piece of advice in the video. Clipping this creates a super-shareable short that’s packed with value.
Once you’ve found a segment you want to use, just go to your YouTube Studio, find the video, and click "Editor." The 'Trim & Cut' tool will let you set your start and end points with absolute precision. The key is to then use the "Save as new" option to publish it as a fresh video.
Once your new clip is created, you're ready for the final step. Our guide on how to upload YouTube Shorts from PC is the perfect next read, walking you through how to get it published for maximum reach. This simple process lets you turn one big video into a whole library of short-form content.
The Screen Recording Workflow for Maximum Control
Sometimes, YouTube's built-in tools just don't give you the flexibility you need. When you have to grab a specific segment, especially from a source other than your own channel, screen recording is your secret weapon. This approach puts you in the director's chair, giving you total control over every pixel you capture.
Forget third-party download sites or platform limitations. With screen recording, you're essentially creating a high-quality, direct copy of what’s on your screen. This is my go-to method for reaction videos, in-depth analysis, or any project where I need to weave external clips into my own edits. It’s like having a mini production studio right on your desktop.
The whole point is to capture a pristine recording of both the video and its audio. To really nail this, knowing how to screen record with sound on any device↗ is a must. Get this right, and your clips will be professional and edit-ready the second you stop recording.
Choosing Your Screen Recording Tool
You probably have powerful screen recording software on your device already. The best tool is often the one you don't have to install, and each has its own strengths for snagging clips from YouTube.
- For macOS Users (QuickTime Player): It’s more than just a video player. QuickTime has a surprisingly robust screen recorder built right in. I love that you can select just a portion of your screen to record—perfect for isolating the YouTube video player and nothing else.
- For Windows Users (Xbox Game Bar): Don't let the name fool you. While it was made for gaming, the Xbox Game Bar is a fantastic, no-fuss tool for recording any app window. Just hit Windows Key + G, and you can capture your browser playing a YouTube video cleanly.
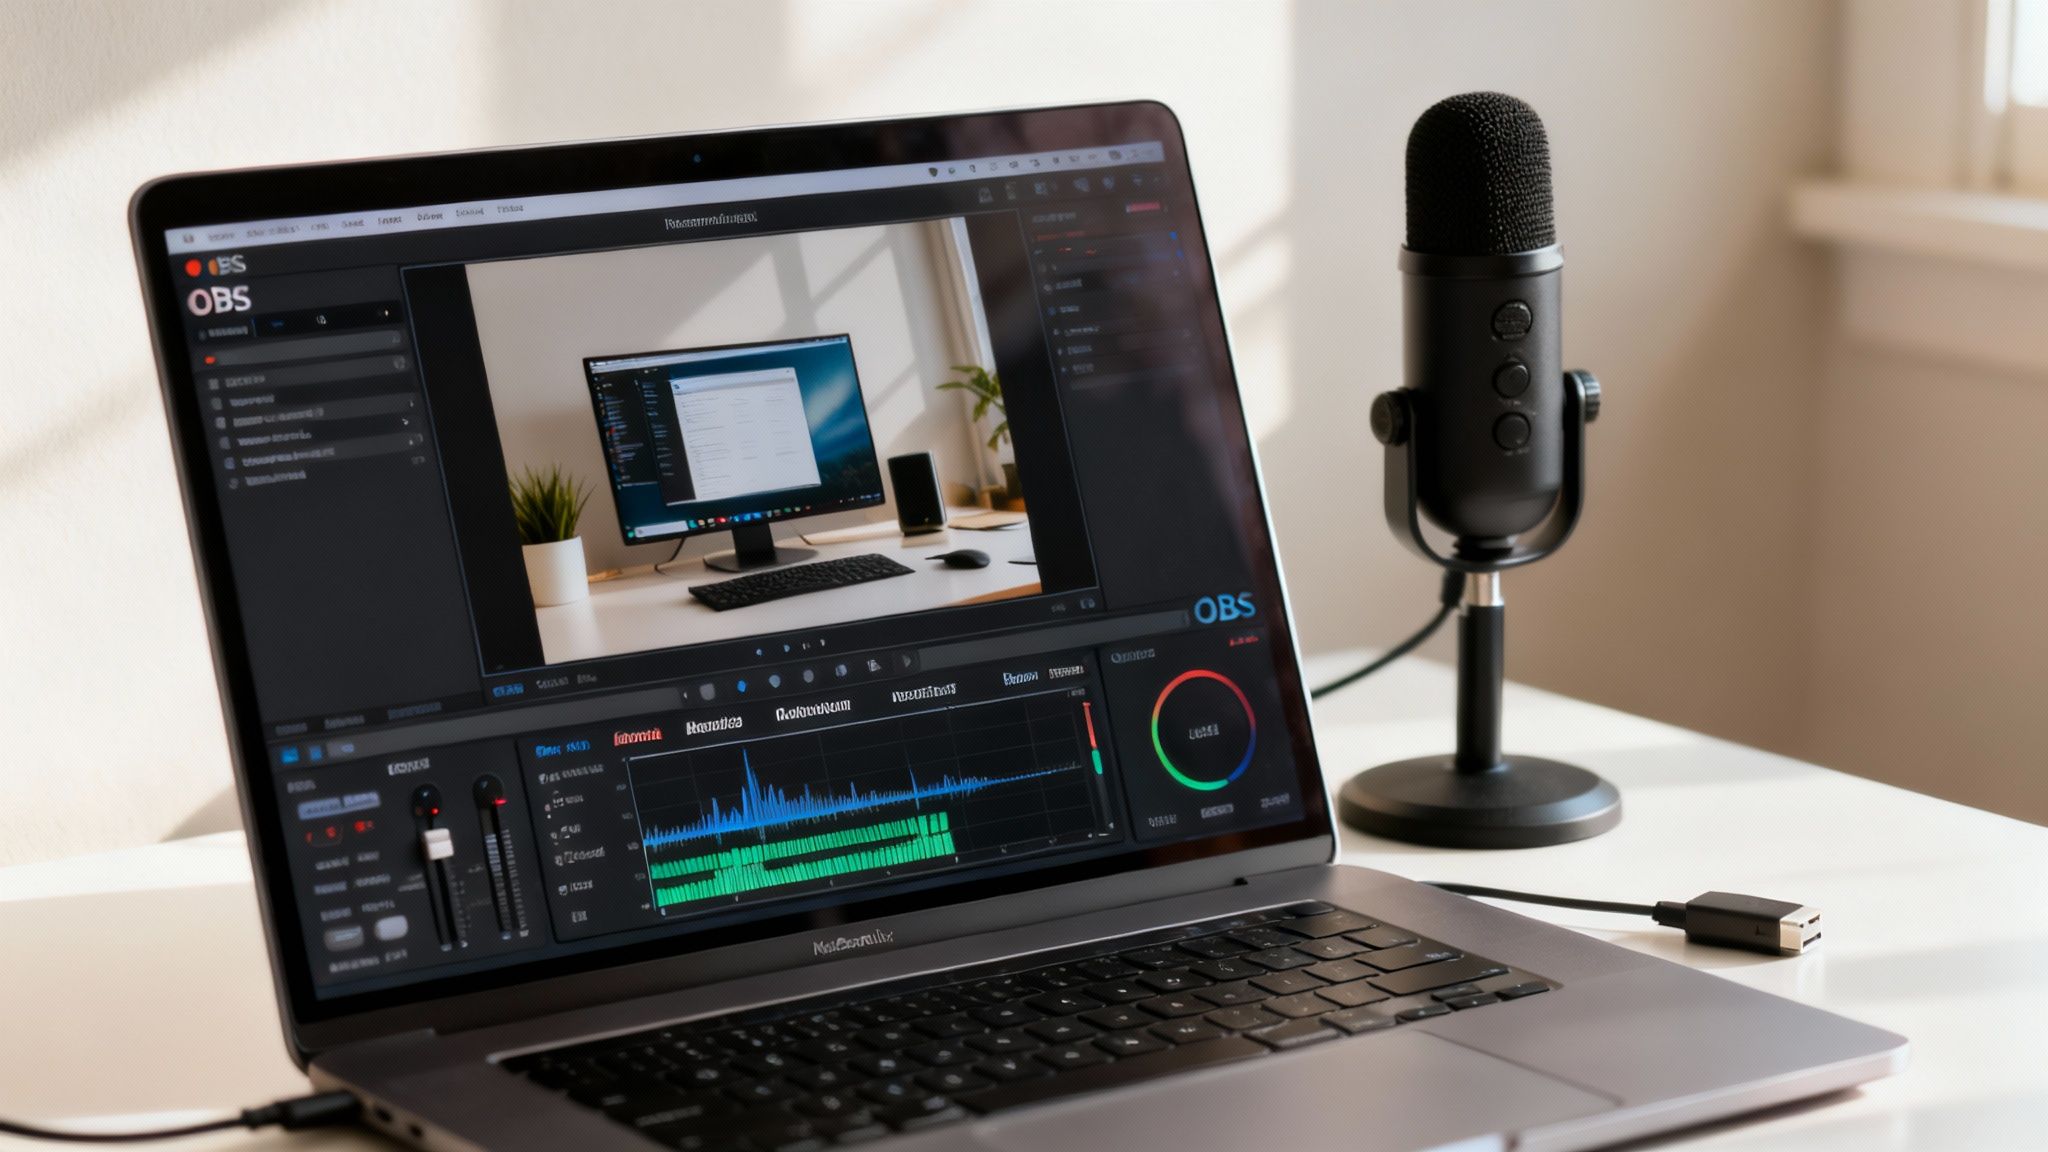
- For Maximum Power (OBS Studio): If you're serious about quality, OBS Studio↗ is the answer. It's free, open-source, and gives you granular control over everything from resolution and frame rate to audio sources. It’s what the pros use for a reason.
- For Mobile Users (iOS & Android): Both platforms have native screen recording built in. Just swipe down to your control center and tap the record button. It’s incredibly handy for grabbing clips when you're away from your computer.
My Pre-Recording Checklist for a Perfect Clip
Before I ever hit that record button, I run through a quick mental checklist. It’s a simple routine that has saved me countless hours of re-recording. Trust me, rushing this part is how you end up with a stray cursor or an embarrassing notification in your final cut.
Key Insight: A clean recording environment is non-negotiable. The goal is to make it look like you have the original video file, even though you're just capturing your screen. Every detail matters.
Here’s the simple setup I use to get a flawless clip, every single time.
- Crank the YouTube Quality: First thing's first, I set the YouTube video's resolution to the absolute highest setting available, like 1080p or 4K. You can always downscale a high-quality clip, but you can never add detail that wasn't there to begin with.
- Go Full Screen: I always put the YouTube video in full-screen mode. This is crucial for eliminating all the on-screen clutter—the taskbar, browser tabs, and recommended videos. You want only the video content in your frame.
- Silence All Notifications: This is a big one. I turn on "Do Not Disturb" or "Focus Mode" on my computer. A pop-up email or a chat message is the fastest way to ruin an otherwise perfect take.
- Hide the Mouse Cursor: I flick my mouse cursor to the very edge of the screen where it becomes invisible. Nothing screams "I screen-recorded this!" more than a random arrow floating over the action.
- Do a Quick Audio Check: I'll play a few seconds of the video just to confirm my software is capturing the computer's system audio, not my microphone. Hearing yourself cough in the background is an amateur mistake that's incredibly easy to avoid.
Follow these steps, and you’ll end up with a professional-grade clip that’s clean, crisp, and ready for your editing timeline. This kind of high-quality footage can then be easily repurposed, as we explore in our guide on https://dailyshorts.ai/blog/how-to-make-videos-for-social-media↗, turning one great recording into tons of engaging content.
Using Third-Party Tools Safely and Effectively
So you've seen YouTube's built-in tools and the screen recording route, but there's another path many creators talk about: third-party downloaders. These are the websites and apps that promise to rip a full, high-resolution video file right from YouTube, giving you total freedom to edit it offline. It sounds tempting, right? Especially when you're planning to chop up one long video into a dozen Shorts or Reels.
But let's be real—this convenience is loaded with risks. Diving into the world of online downloaders means you have to be smart and careful. Many of these services operate in a murky legal and technical gray area, and a wrong click could expose you to malware, or worse, land your channel a copyright strike.
Let's walk through how to handle this landscape responsibly, so you can protect your computer and your hard-earned creator account.
What to Look for in a Third-Party Tool
Not all downloaders are created equal. You’ve got the good ones that prioritize a clean experience and the shady ones that are basically minefields of pop-up ads and sketchy buttons. If you absolutely need to go this route for your workflow, here’s what to hunt for.
- High-Resolution Options: Don't even bother with a tool that can't pull down at least 1080p video. Your source material has to be high-quality if you want your final clips to look professional.
- Format Choices (MP4 is King): Make sure you can download in MP4 format. It’s the universal standard that works with pretty much every editing program and social media platform out there.
- A Clean, No-Nonsense Interface: A trustworthy tool does one job: it gets you the video. If the website is drowning in flashing ads, "you're a winner!" banners, or insists you install some random browser extension, run. That's a huge red flag.
Honestly, the whole point is to be efficient. A good tool gives you the file you need without making you dodge a dozen security threats. While some people swear by downloaders, another rock-solid option is finding the best screen recording software↗ for your setup. It gives you complete control without ever breaking YouTube's rules.
Navigating the Risks: Safety and Legality
Okay, this is the most important part. When you use third-party downloaders, you have to put on two hats: one for cybersecurity and one for copyright law.
First, your computer's safety. Many of those free downloader sites are funded by aggressive advertising, which sometimes includes malicious ads (malvertising) designed to trick you into downloading a virus. Never click on pop-ups, and be super skeptical of any site that forces an installer or "downloader manager" on you. The safest tools do everything right in your browser.
Crucial Takeaway: Downloading videos you don't own is a direct violation of YouTube's Terms of Service. If you re-upload that content without making significant changes, you're putting your account at risk of suspension or even termination.
Now for the legal side of things. You’ve probably heard of Fair Use, which allows people to use copyrighted material without permission for things like commentary, criticism, or parody. But fair use is a legal defense, not a free pass. Just grabbing someone's clip and reposting it is a textbook copyright violation.
For your new video to even have a chance at being considered fair use, it needs to be transformative. That means you've added a new meaning, message, or expression to the original. A reaction video where you provide commentary over the clips? That’s more likely to be fair use. Just posting the clip by itself? Not so much.
The safest, most ethical approach is simple: only download your own content. If you lost the original file for a video you posted years ago, using a downloader to grab a copy for repurposing makes perfect sense. But when it comes to using other creators' work, you need to tread very carefully and really understand fair use.
Plus, exciting developments in AI are changing this whole conversation. For instance, new generative AI tools like Veo↗ are emerging that can create video clips from a simple text prompt. This opens up a whole new way to generate content that completely sidesteps these copyright headaches, letting you create unique visuals from scratch.
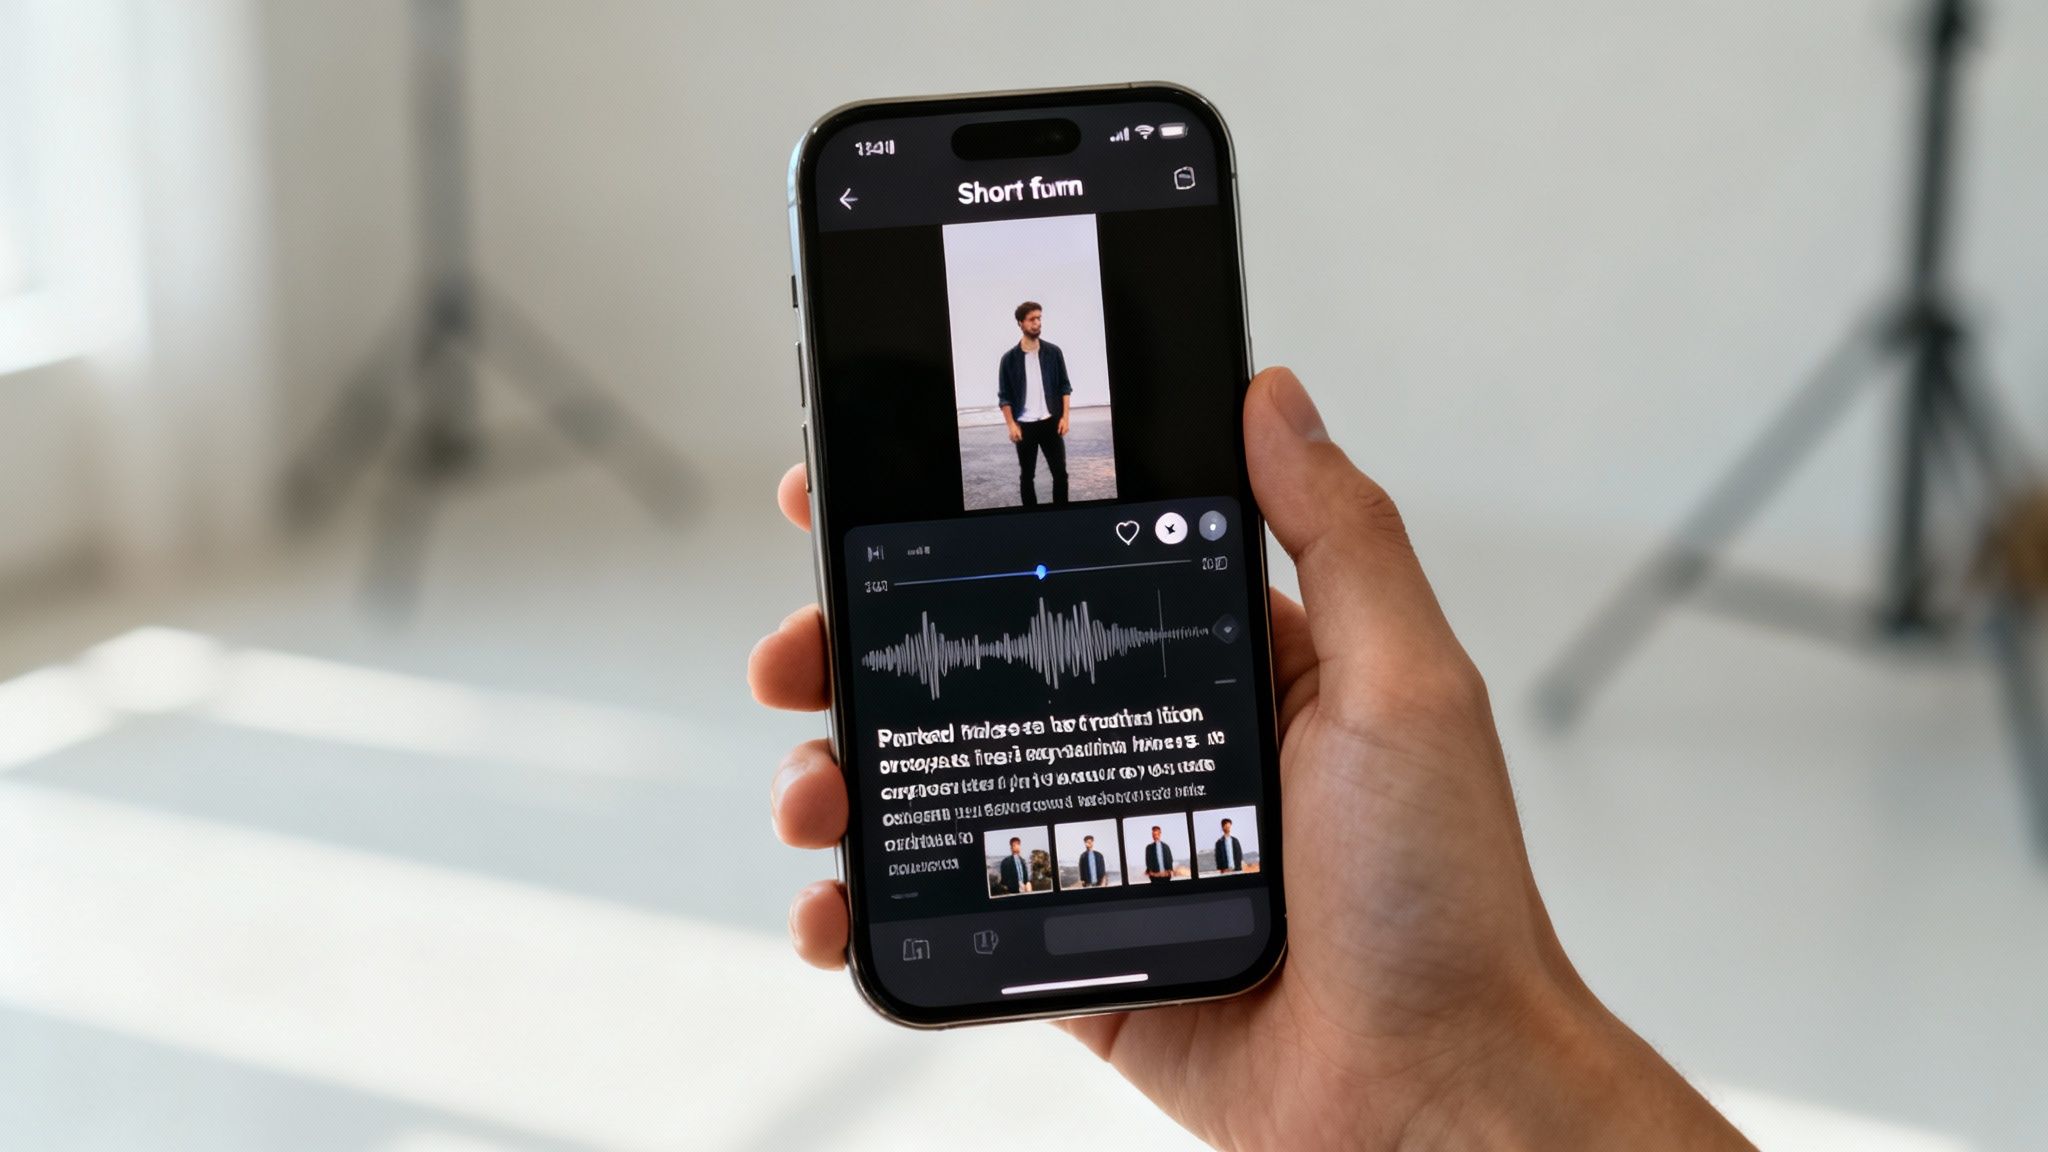
Turning Your Clips into Viral Short-Form Videos
Getting the raw footage is just the first step. The real magic—what turns a decent moment into a shareable sensation—happens in the edit. Taking a horizontal clip from a longer YouTube video and making it work for TikTok, Shorts, and Reels is a unique skill.
This is so much more than just cropping your video. You have to completely rethink the viewing experience for a mobile audience with a famously short attention span. To win here, your video needs to be visually captivating from the very first frame, make sense with the sound off, and fit the unique vibe of each platform.
Reframing for the Vertical World
Your first hurdle is converting a 16:9 horizontal video into a 9:16 vertical one without losing what makes the clip great. Just plopping it in the middle and chopping off the sides rarely works. The main subject might drift out of view, and you’ll lose your audience. You need to become an active director, guiding the viewer's eye.
The goal is to keep the most important thing—a person’s face, a product demo, a key detail—front and center in that vertical frame at all times. This often means you’ll need to manually adjust the frame’s position as the action unfolds, a technique known as keyframing. It sounds intimidating, but most modern video editors have made this a surprisingly simple drag-and-drop process.
My Pro Tip: Don't shy away from a "split-screen" look. You can put the person speaking in the top half and use the bottom for big, dynamic captions or even some relevant B-roll. It’s a great way to maximize every single pixel of that vertical screen.
Captions and Overlays: Your Secret Weapons
Think about it: a huge number of people scroll through their feeds with the sound off. If your video’s message is lost without audio, you're missing out on a massive part of your potential audience. This is exactly why captions and text overlays are absolutely non-negotiable.
- Dynamic Captions: Forget boring, standard subtitles. Use tools that generate animated, word-by-word captions that are big, colorful, and easy to follow. This visual rhythm keeps eyes locked on the screen.
- Contextual Overlays: Add short, punchy text to highlight key points or ask a question. A hook like "The #1 Mistake All Beginners Make" in the first three seconds is an instant curiosity magnet.
- Progress Bars: For clips pushing that 45-60 second mark, a simple progress bar sliding across the screen can subtly encourage people to finish the video, giving your watch time a nice little boost.
Nailing these visual elements is the key to holding attention. If you need some inspiration, checking out a well-designed YouTube Shorts template↗ can give you a fantastic blueprint for structuring your text and graphics for maximum impact.
Playing by Each Platform's Rules
While you might start with the same core clip, how you package it should change for each platform. TikTok, Reels, and Shorts all have their own distinct cultures and algorithms.
On TikTok, jumping on trending audio can be a game-changer. You can turn down your clip’s original audio and layer a popular sound over it to get a serious algorithmic boost. Instagram Reels often favors more polished, aesthetic visuals and educational content. Over on YouTube Shorts, it’s a powerful discovery engine, so using the right keywords in your title is everything.
The potential here is just staggering. YouTube is the #1 preferred platform for video globally, with 83% of consumers saying they prefer it. The Shorts platform alone blew up to 2 billion monthly active users by mid-2023. This audience also takes action; research shows that over 40% of global shoppers have purchased a product they first saw on YouTube. Every short you create is a new doorway into this massive ecosystem.
AI is Changing the Clip Creation Game
Let's be real—manually reframing, captioning, and tweaking dozens of clips takes an enormous amount of time. This is where AI-powered tools are completely flipping the script for creators. Platforms like DailyShorts.ai can now handle most of this heavy lifting for you.
These tools can watch your long-form video, pinpoint the most engaging moments, and automatically reframe them into vertical clips. They can even generate dynamic captions and suggest viral-worthy hooks. By automating the tedious parts of editing, you can shift your focus to creative strategy and ideas, scaling your output from one or two clips a week to several every single day. That kind of efficiency is how you win on short-form video.
Answering Your Top Questions About Clipping YouTube Videos
As you start pulling clips from YouTube, you’ll quickly run into the same questions that every creator faces. It's totally normal. Figuring out the rules around legal use, technical formats, and making money from your clips is crucial. Let's clear up the confusion so you can build a smarter, more sustainable content strategy without hitting any unexpected roadblocks.
One of the biggest anxieties is about legality, and for good reason. Misusing copyrighted content can get your channel hit with strikes, and nobody wants that. Knowing the rules isn't just about covering your back—it's about respecting other creators and building a brand people can trust.
Is It Legal to Clip Someone Else’s YouTube Video?
This is the big one, and the answer is… it's complicated. The whole issue is governed by a legal concept called "Fair Use," which is notoriously a gray area. Using short clips for things like commentary, news reporting, criticism, or parody often gets a pass, but there are no hard-and-fast rules. It’s a judgment call every time.
When courts have to decide, they typically look at four key factors:
- The purpose of your use: Are you adding new meaning (like a review), or just re-uploading their work?
- The nature of the original work: Using a snippet from a factual news report is generally safer than grabbing a scene from a highly creative short film.
- The amount you used: The shorter the clip in relation to the whole video, the stronger your argument for fair use.
- The effect on the original's value: Does your clip stop people from needing to watch the original video? If so, you're on shaky ground.
Honestly, the safest path is to always prioritize clipping your own content. If you absolutely need to use someone else's footage, make sure your use is transformative. Add your own significant commentary, analysis, or spin. Just reposting a funny clip as-is? That’s not fair use; it's a straight-up copyright violation waiting to happen.
What’s the Best Format for YouTube Clips?
When you’re creating clips for TikTok, Instagram Reels, or YouTube Shorts, the gold standard is an MP4 file with the H.264 codec. This combo is the sweet spot—it gives you fantastic video quality without creating a massive file that takes ages to upload.
Your goal should always be to start with the highest quality possible. Grab the clip in 1080p (1920x1080) or even 4K if you can. But for the final export, you must format it for vertical viewing. That means a resolution of 1080x1920 pixels. This is non-negotiable if you want your video to look professional and fill the entire phone screen.
Can I Monetize Shorts Made from My Own Videos?
Yes, you absolutely can, and you should be! This is one of the most powerful reasons to repurpose your existing long-form videos into Shorts.
As long as the clip comes from a video where you own all the rights, any Shorts you create from it are eligible for monetization through the YouTube Partner Program. This assumes your channel already meets the program's requirements (subscribers and watch hours). Turning your video library into a Shorts-making machine is a fantastic, YouTube-endorsed strategy to get more eyes on your channel, pull in new subscribers, and add another revenue stream from the hard work you've already done.
Ready to stop manually clipping and start creating viral videos effortlessly? With DailyShorts, you can turn any idea into a polished, ready-to-post short video in minutes. Our AI handles the script, visuals, voiceover, and editing so you can focus on growing your channel. Join over 50,000 creators and start making amazing content today↗.
Ready to create viral videos?
Start creating viral TikTok and YouTube Shorts with DailyShorts AI today.