How to Upload YouTube Shorts from PC A Creator's Guide
DailyShorts AI
Uploading your YouTube Shorts from a PC is actually a pretty simple process. You just need a vertical video that's under 60 seconds, and you can use the familiar "Create" button right in YouTube Studio. The magic trick? Just make sure you add the hashtag #Shorts somewhere in your title or description. That's it. This little tag tells YouTube exactly how to categorize your video, and honestly, the whole PC workflow gives you way more control than fumbling around on your phone.
Why Uploading Shorts from a PC Unlocks Faster Growth
Sure, uploading a Short straight from your phone seems quick and easy. But if you talk to any creator who's serious about scaling their channel, they'll tell you the real growth happens when you switch to a desktop-first strategy. It's a game-changer. Moving your workflow to a computer isn't just about convenience; it's about taking your content from a casual hobby to a powerful growth machine.
The Power of a Desktop Workflow
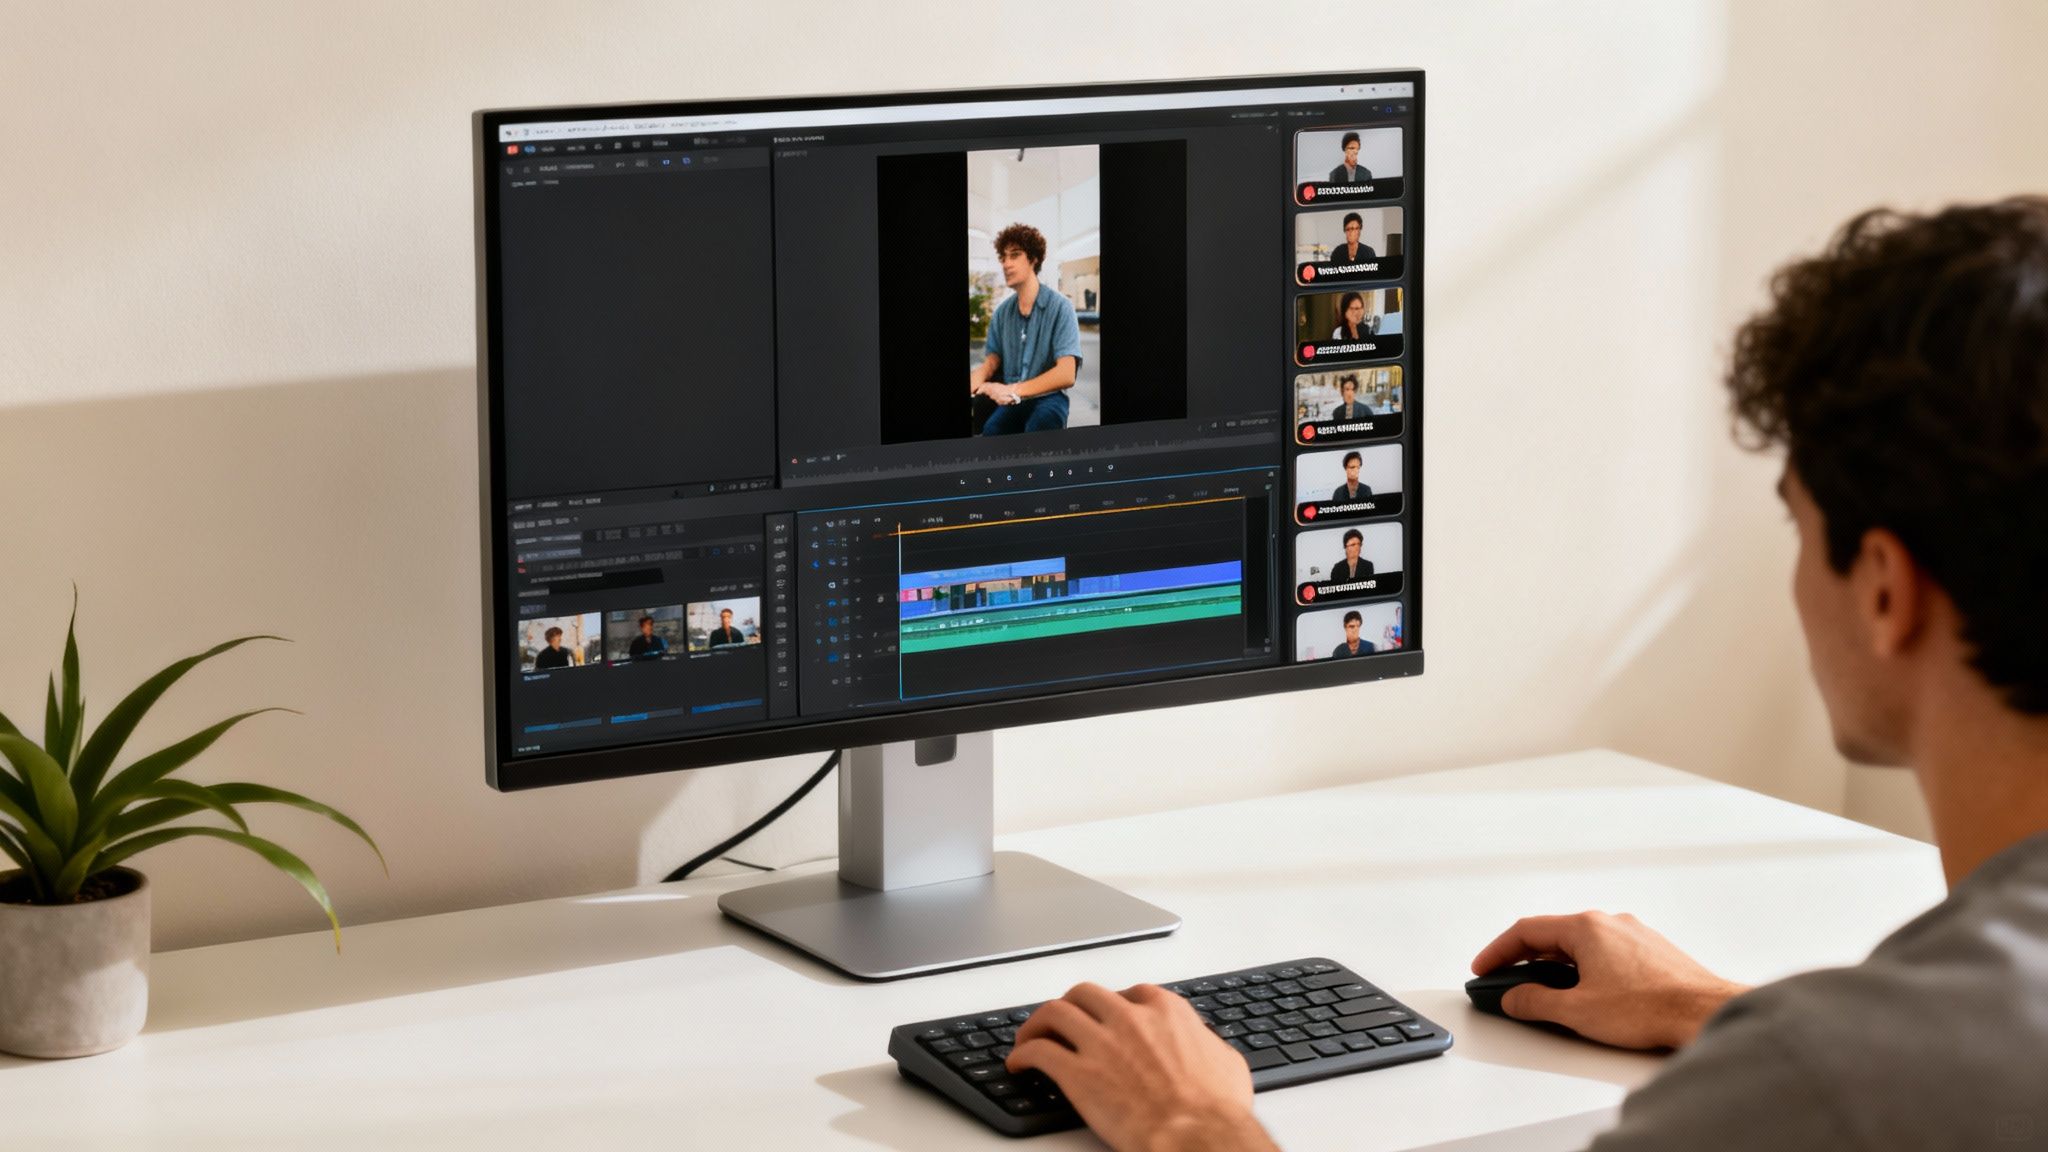
Working on a PC immediately opens up a world of professional video editing software. This is where you get granular control over every single frame, sound bite, and transition—the kind of polish that’s nearly impossible to nail on a tiny mobile screen.
But it goes beyond just editing. A desktop workflow is built for batching. You can sit down and knock out an entire week's worth of content in one afternoon, scheduling everything in advance. This creates that steady stream of uploads the YouTube algorithm loves to see, and it’s a massive advantage over competitors who are just posting sporadically from their phones.
Leveraging Automation for Maximum Output
The PC is also where you can bring in some serious firepower with advanced tools. AI video generators like DailyShorts↗ fit perfectly into this system, letting you turn a simple idea into a finished video in a matter of minutes.
We actually have a whole guide that shows you how to go from script to video↗, which breaks down how automation can do the heavy lifting—from voiceovers to finding the right visuals. This frees you up to think about the big picture and come up with great ideas instead of getting bogged down in production.
This isn't just a hunch; the results speak for themselves. We've seen that creators who get into a groove of batch-uploading from their desktops are often posting 18-22 videos per month. That's a huge leap. It’s this kind of consistency that has helped Shorts rack up over 910 million uploads and hit a staggering 70 billion daily views. For more on this, check out the full research on 2025 YouTube Shorts statistics that will blow your mind.
Getting Your Video File Ready for a Flawless Upload
Before you even dream of hitting that "Upload" button, the fate of your Short is pretty much decided by its technical specs. A successful upload from your PC starts with a perfectly prepped video file. Trust me, getting these details wrong can mean failed uploads, grainy quality, or—worst-case scenario—your video never even gets picked up as a Short by the algorithm.
Think of this part as your pre-flight checklist. YouTube has very specific rules for short-form content, and they aren't just suggestions. If you want your video to land on the Shorts shelf where all the action happens, you have to play by their rules.
Mastering the Core Requirements
The three golden rules for any YouTube Short are its aspect ratio, resolution, and length. Get these right, and you're already halfway there.
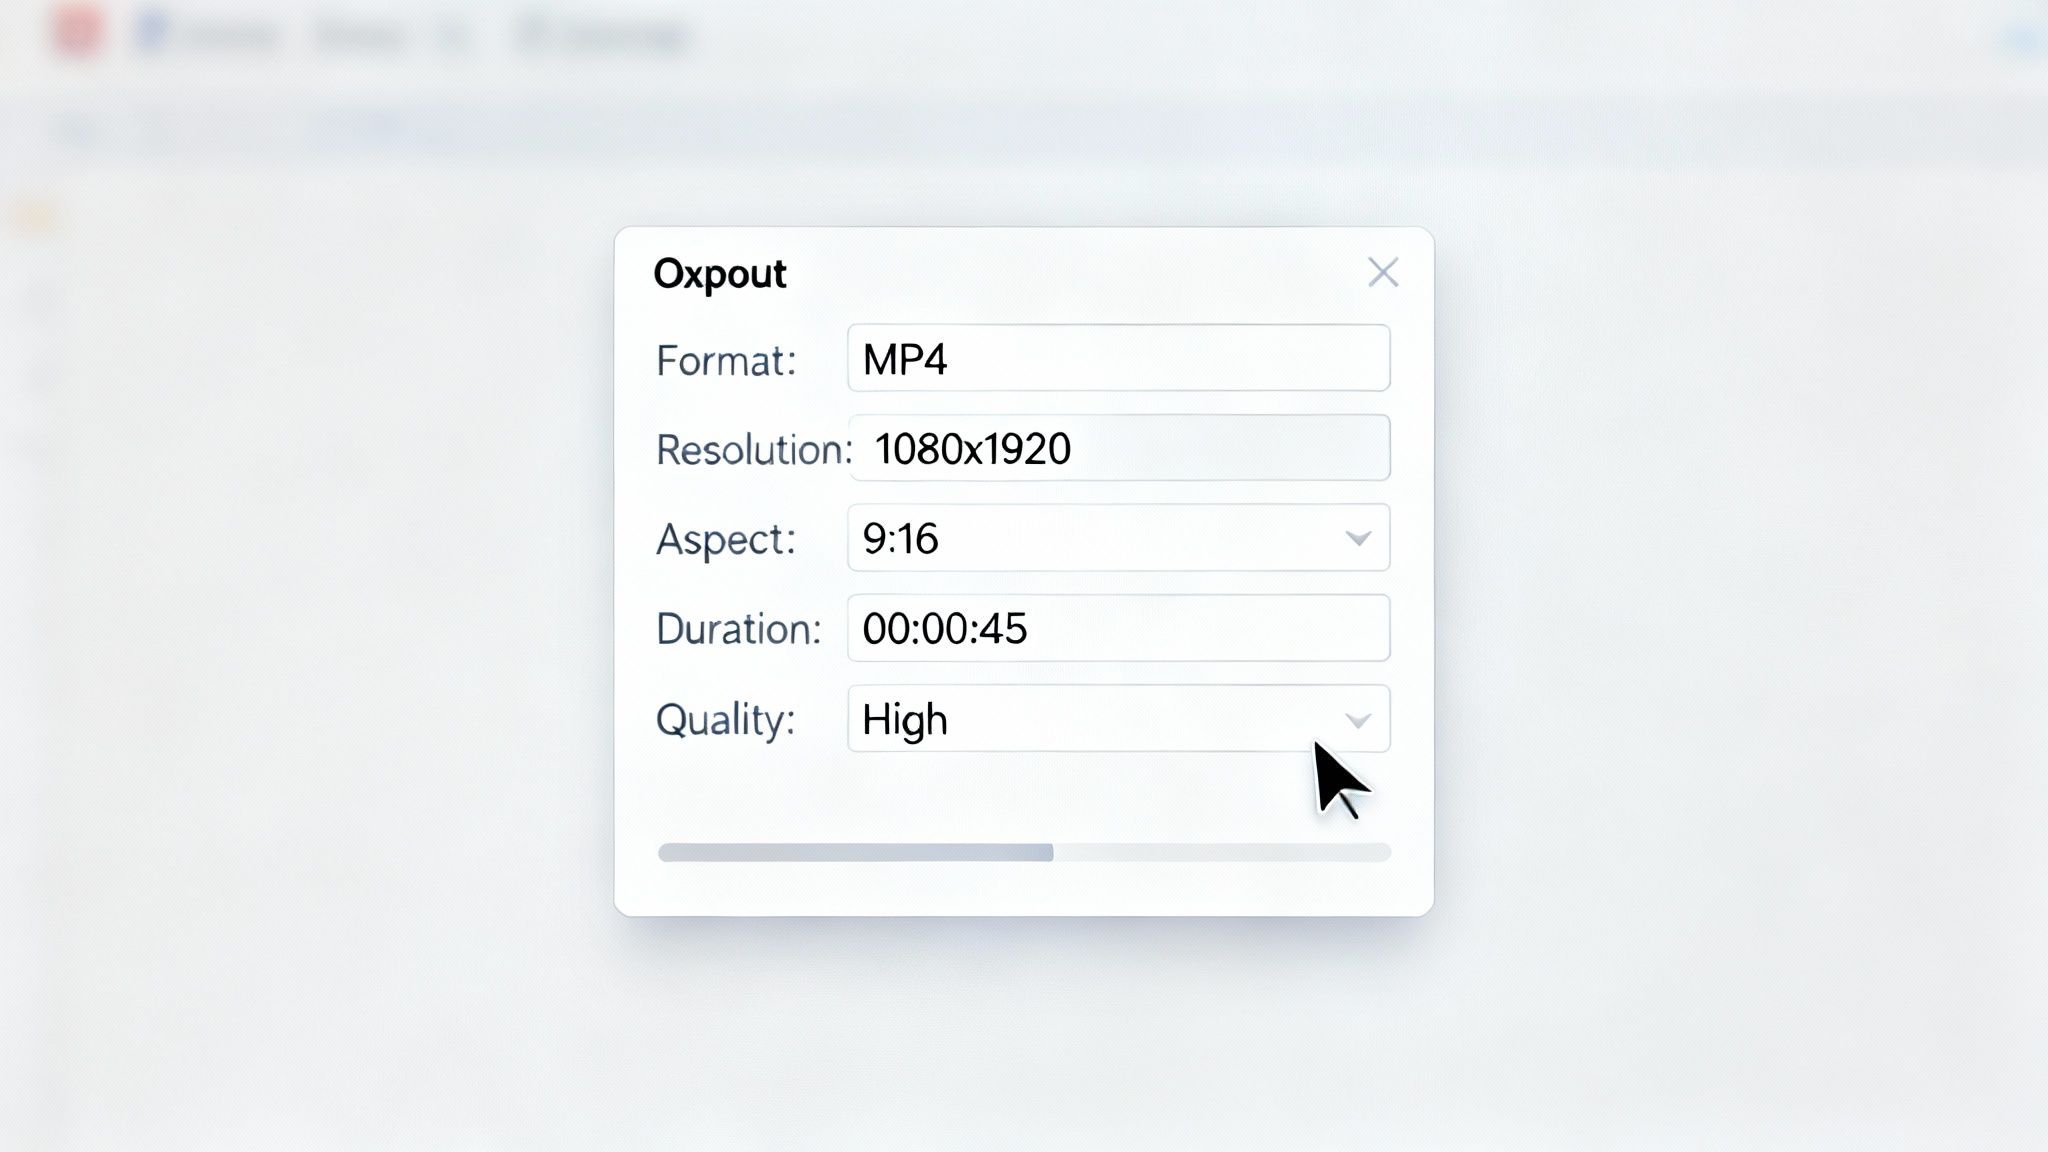
First, your video must be vertical, with a 9:16 aspect ratio. This is non-negotiable. It's the native format for smartphone screens, and it’s what the Shorts player is designed for.
For quality, aim for 1080x1920 pixels. You might be able to get away with less, but this is the sweet spot for a crisp, professional look that stands out. Finally, and this is the big one, keep it under 60 seconds. Even a single extra frame will get it disqualified from the Shorts feed.
Thankfully, most modern video editors like Adobe Premiere Pro↗ or DaVinci Resolve↗ have built-in presets for vertical video that nail these specs every time. Just double-check your export settings before you hit render.
Pro Tip: The YouTube algorithm is smart. It scans your file’s metadata the second you upload it. If it sees a 9:16 aspect ratio and a runtime under 60 seconds, it instantly flags it as a Short—even before you add a single hashtag. This is the real secret to getting your foot in the door.
Of course, if you're using a tool like DailyShorts↗ to generate your content, all this technical heavy lifting is done for you. Every video comes out perfectly formatted and ready to go, which is a huge time-saver. It’s also a great way to experiment with different formats, like turning a simple image sequence into a dynamic video↗.
Your Quick-Reference Spec Sheet
To make things even easier, here’s a simple table with everything you need to know. Keep this handy, and you'll never have to second-guess your export settings again.
| YouTube Shorts Video File Requirements |
|---|
| Use this quick reference guide to ensure your video meets all technical specifications for a successful upload. |
| Specification |
| Requirement |
| Why It Matters |
| Aspect Ratio |
| 9:16 (Vertical) |
| This is the fundamental requirement for the algorithm to identify and display your video in the Shorts player. |
| Resolution |
| 1080x1920 pixels |
| Ensures your video looks sharp and high-quality on modern mobile devices, boosting viewer engagement. |
| Length |
| 60 seconds or less |
| A hard limit. Anything longer, even by a fraction of a second, will not be classified as a Short. |
| File Format |
| MP4 |
| The most widely supported format, ensuring smooth processing and compatibility across all devices. |
| Video Codec |
| H.264 |
| Offers the best balance of high-quality compression and small file size, which is ideal for web streaming. |
Nailing these specs is your ticket to a smooth upload and a happy algorithm.
Choosing the Right File Format
When you're finally ready to export, the file format is your last checkpoint.
While YouTube technically accepts a few different formats, the gold standard is MP4 with an H.264 codec. This combo is the universal language of web video. It guarantees maximum compatibility, efficient processing on YouTube's end, and flawless playback for your viewers, no matter what device they're on.
Stick to these guidelines, and you can be confident that when you upload your YouTube Short from a PC, you've given it the best possible chance to succeed.
Your Guide to Uploading in YouTube Studio
With your perfectly edited video file in hand, it's time to head over to the command center of your channel: YouTube Studio↗. This is where the desktop workflow really starts to feel like a superpower. Forget fumbling around on a tiny phone screen—uploading from your PC is faster, more intuitive, and gives you a level of control you just can't get on mobile.
Once you’re in your YouTube Studio dashboard, look for the big “Create” button in the top-right corner. It’s the one with the little camera icon. Give that a click, and from the dropdown menu, select “Upload videos.”
This brings up the upload window. You’ve got two easy ways to get your file in here: click the "SELECT FILES" button and navigate through your folders, or do what I do and just drag and drop the video file right into the box. It’s a small thing, but that drag-and-drop feature makes the whole process feel so much smoother.
The All-Important Hashtag
As YouTube starts to process your upload, you'll land on the "Details" page. This is your first and most critical chance to tell the algorithm exactly what you’ve made. Even though a vertical video under 60 seconds should automatically be picked up as a Short, you need to give it one more push.
Make sure to include the hashtag
somewhere in your video's title or description. It's that simple. This little tag is a direct signal to YouTube, leaving no doubt that your video belongs on the Shorts shelf where it can find its audience.#Shorts
I’ve seen so many creators skip this step and then wonder why their vertical videos aren't getting any traction in the Shorts feed. The hashtag is your insurance policy. The algorithm is smart, but why leave it to chance? I usually pop it right in the title for visibility, but the end of the description works just as well. Just get it in there.
Navigating the Upload Interface
Now you can get to work on the fun stuff—filling out all the metadata that will help your video get discovered. This is another area where using a full keyboard and a large screen makes a world of difference.
Here's the YouTube Studio upload screen you'll be working with.
This is your mission control for everything from titles and descriptions to audience settings, all cleanly laid out and easy to manage.
While you type, you'll see YouTube processing your video in the background, running checks for things like copyright claims. This is a huge advantage of the PC workflow; you can get all your creative and strategic work done while the technical stuff happens automatically.
You can also dive into advanced settings, like adding your video to a playlist or setting audience restrictions, all from this one screen. For anyone serious about building a content schedule, this is also where you can find the tools to schedule YouTube videos↗, which is key for keeping your audience engaged and coming back for more.
Getting the Algorithm to Notice You
Putting your video on YouTube is one thing. Getting people to actually see it? That’s the real game. A fantastic Short with sloppy metadata is like hiding a masterpiece in a closet—it’s pointless. This is where you need to get strategic, and uploading from a PC gives you the space and tools to nail it.
Think of your video's title, description, and tags as a direct conversation with the YouTube algorithm. You’re telling it exactly who needs to see your content. Don't skip this part; it's one of the biggest rookie mistakes you can make.
Crafting a Title That Grabs Attention
Your title is your first impression. It needs to be punchy, clear, and packed with the words people are actually searching for. Put yourself in their shoes. What would you type into the search bar?
For instance, if you made a quick pasta recipe, a title like "My Dinner" is going to get lost. But "1-Minute Garlic Parmesan Pasta #Shorts"? Now you're talking. It hits a powerful search term ("garlic parmesan pasta") and adds a hook ("1-Minute") that’s perfect for someone scrolling for a fast meal. And always, always include #Shorts in the title. It’s a non-negotiable signal to the system.
Writing a Description That Does the Heavy Lifting
Okay, let's be real—most people won't read the description on a Short. But the algorithm reads every single word. This is your secret weapon for adding context and telling viewers what to do next.
A solid description should do three things:
- Expand on the video's topic. Weave in different versions of your main keywords.
- Give a clear call-to-action (CTA). Ask a question to get comments rolling or drop a link to a related full-length video.
- Add more hashtags. Go beyond just
. ThinkCode Snippet#Shorts
orCode Snippet#quickrecipes
to cast a wider net.Code Snippet#pastahacks
This extra detail helps YouTube pinpoint your ideal audience with much greater accuracy. If you're looking to build a bigger content strategy around this, understanding how to make videos for social media gives you a great foundation.
Choosing Tags That Make the Right Connections
Tags are like the hidden breadcrumbs that lead the algorithm to your video. Their weight in the ranking formula has changed over the years, but they are still incredibly useful for telling YouTube what your video is all about, especially when your channel is still growing.
Think of tags as signposts. You're giving the algorithm a clear map to your content's subject matter. If your Short is about a DIY home improvement project, tags like "DIY," "home improvement," "weekend project," and "budget decor" help YouTube connect your video with users who have shown interest in those exact topics.
To really level up, a YouTube Tags Generator↗ can be a goldmine. These tools can analyze what's already working for top videos and spit out tag ideas you probably would have missed on your own.
Picking the Perfect Thumbnail Frame
Here's a key difference with Shorts: you can't upload a custom thumbnail. But when you upload from your computer, YouTube Studio lets you pick a single frame from the video itself. Don't just let it default to a random spot.
This is your moment to be a director. Scrub through the timeline and find that one perfect frame—the most exciting, visually interesting, or intriguing split-second. This is the image that will show up on your channel page and other places on YouTube. A blurry, boring, or confusing frame will kill your click-through rate before you even have a chance. Make it count.
Scaling Your Content with an Automated Workflow
Look, grinding out Shorts one by one is a recipe for burnout. I’ve seen it happen time and again. If you're serious about growing your channel, you need to think like a producer, not just a creator. That means building a system—a workflow that lets you pump out quality content consistently without losing your mind.
Imagine turning one good idea into an entire week's worth of Shorts, all prepped and ready to go in less than an hour. That's not a fantasy; it's what happens when you bring smart automation into your process. When you pair an AI video generator with your PC upload strategy, your job shifts from tedious editor to big-picture strategist.
The Power of Batch Creation
This is where tools like DailyShorts really shine. You can drop a simple topic into the AI, and it spits back multiple scripts, complete with professional-sounding AI voiceovers and slick 4K visuals to match. Instead of spending an entire afternoon on a single 60-second video, you can have a whole batch of perfectly formatted Shorts downloaded in minutes.
This batching approach is a total game-changer. You can set aside one chunk of time to create a week's or even a month's worth of content. Then, you just use YouTube Studio’s scheduler to build out your content calendar. Nothing tells the YouTube algorithm "this channel is legit" quite like a steady, reliable stream of uploads.
The goal here is simple: work smarter, not harder. Let automation handle the grunt work of video production. This frees you up to focus on what really matters—strategy, engaging with your audience, and dreaming up your next viral idea.
Once you have your videos, the metadata process is your next focus. It’s all about the title, description, and tags.
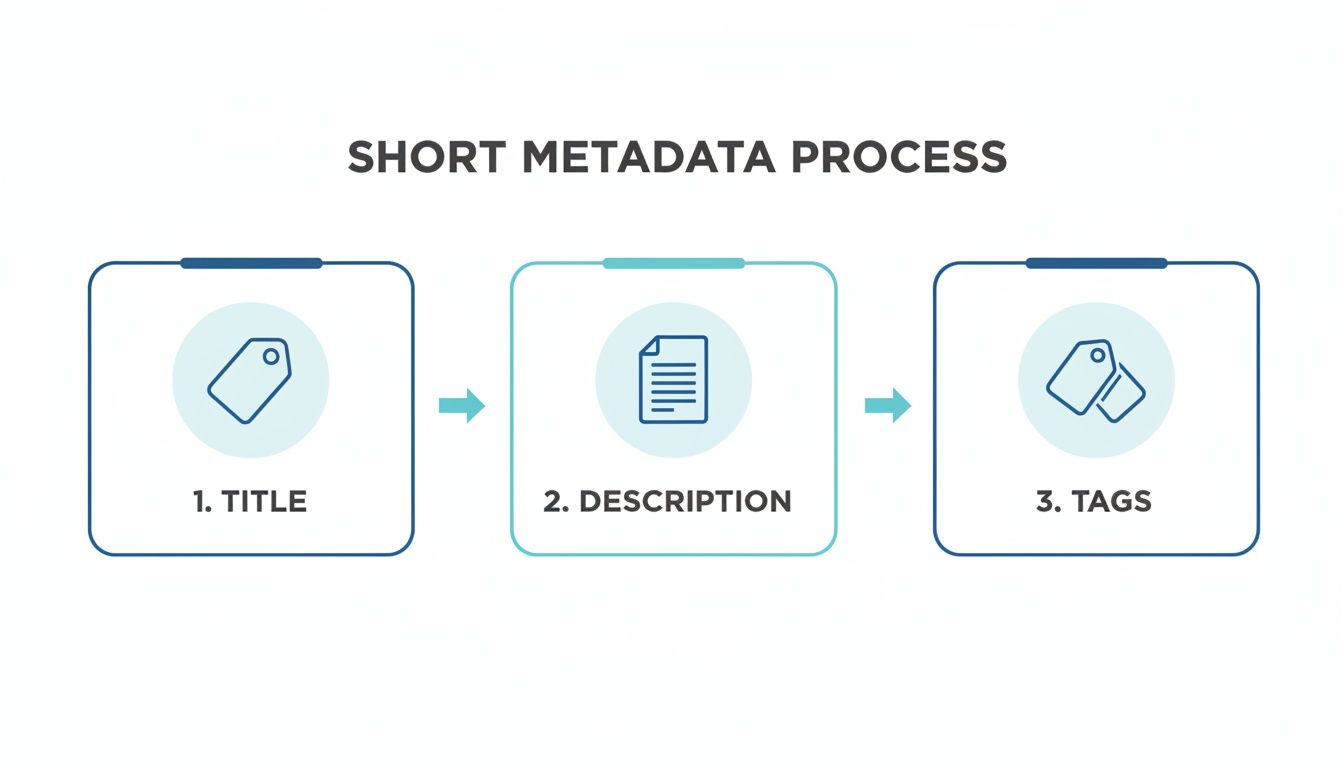
Nailing this metadata step is what makes your batch-uploading process truly effective. It ensures every Short has the best possible chance to be discovered.
Building Your Automated System
With your batch of AI-generated videos downloaded, uploading them through YouTube Studio becomes a breeze. You can line up all your videos in the queue and knock out the metadata for each one efficiently.
- Titles: Spend a minute crafting a catchy, keyword-focused title for each video.
- Descriptions: Have a basic template ready, but always tweak it with specifics for that particular Short.
- Tags: To give your Shorts a real ranking boost, a good YouTube Tags Generator↗ can be your secret weapon, saving you a ton of research time.
This one-two punch of AI creation and strategic PC uploading is the ultimate efficiency hack. It’s how the top creators seem to be everywhere at once, dropping quality content day after day. If you want to dive deeper, our guide on building an automated YouTube channel↗ lays out the entire playbook. This is how you stop chasing the algorithm and start building a real content machine.
Common Questions About Uploading Shorts from a PC
Moving your Shorts workflow from your phone to a desktop is a game-changer, but it's not without its quirks. Let's walk through some of the most common hangups I see creators run into. Getting these sorted out will make your process so much smoother.
Why Isn't My Video Showing Up as a Short?
This is, without a doubt, the number one question. If your video is showing up as a regular, long-form video, it's almost always one of three things.
First, check your length. Your video has to be 60 seconds or less. Seriously, even one extra frame can push it over the edge and disqualify it.
Next, it has to look like a Short. That means a vertical or square aspect ratio. The sweet spot is 9:16 (1080x1920 pixels). A standard horizontal video just won't cut it for the Shorts player.
Finally, you need to send a clear signal to YouTube. The easiest way is to add
directly into your video’s title or description. Think of it as telling the algorithm exactly what to do. If you've nailed these three points, your video should pop up as a Short.#Shorts
Can I Use a Custom Thumbnail on PC?
The short answer is no, at least not in the way you're used to with your other YouTube videos. You can't upload a separate, custom-designed image file for a Short. This trips up a lot of people who are used to having that level of control.
But here's the good news: uploading from a PC gives you the next best thing.
When you're in YouTube Studio, you get a timeline scrubber for your video. This lets you move frame-by-frame and hand-pick the exact moment you want to use as your thumbnail. This is your chance to grab a high-action, visually arresting shot that makes people want to click.
Don't sleep on this feature. The frame you choose is what people see on your channel page and in search, so make it count.
Is Scheduling Better Than Publishing Immediately?
For most creators, scheduling is a massive win and a key reason to use a desktop. It's all about consistency. The YouTube algorithm loves a predictable posting schedule because it shows you're a reliable, active channel.
Dig into your YouTube Analytics and find out when your audience is actually online and watching. By scheduling your Shorts to drop during those peak hours, you give them a much better shot at getting that crucial initial traction.
This is how the pros do it: they batch-create a week's worth of content in one session, then schedule it all out. It’s a powerful strategy for maintaining momentum without burning out.
Does Uploading from a PC Improve Video Quality?
In my experience, absolutely. When you create, edit, and export on a computer, you're working with your original, uncompressed source files.
Uploading that master file directly from your PC to YouTube avoids the extra layer of compression that inevitably happens when you have to send a video to your phone first. You’re giving YouTube the cleanest possible version to work with. The final result is almost always a sharper, more professional-looking video, which helps you stand out in a very crowded feed.
Ready to stop grinding and start scaling? DailyShorts uses AI to turn your ideas into a week's worth of viral-ready videos in minutes, complete with scripts, 4K visuals, and lifelike voiceovers. Create your first video for free.
Ready to create viral videos?
Start creating viral TikTok and YouTube Shorts with DailyShorts AI today.