How to Change Aspect Ratio of Video for Social Media
DailyShorts AI
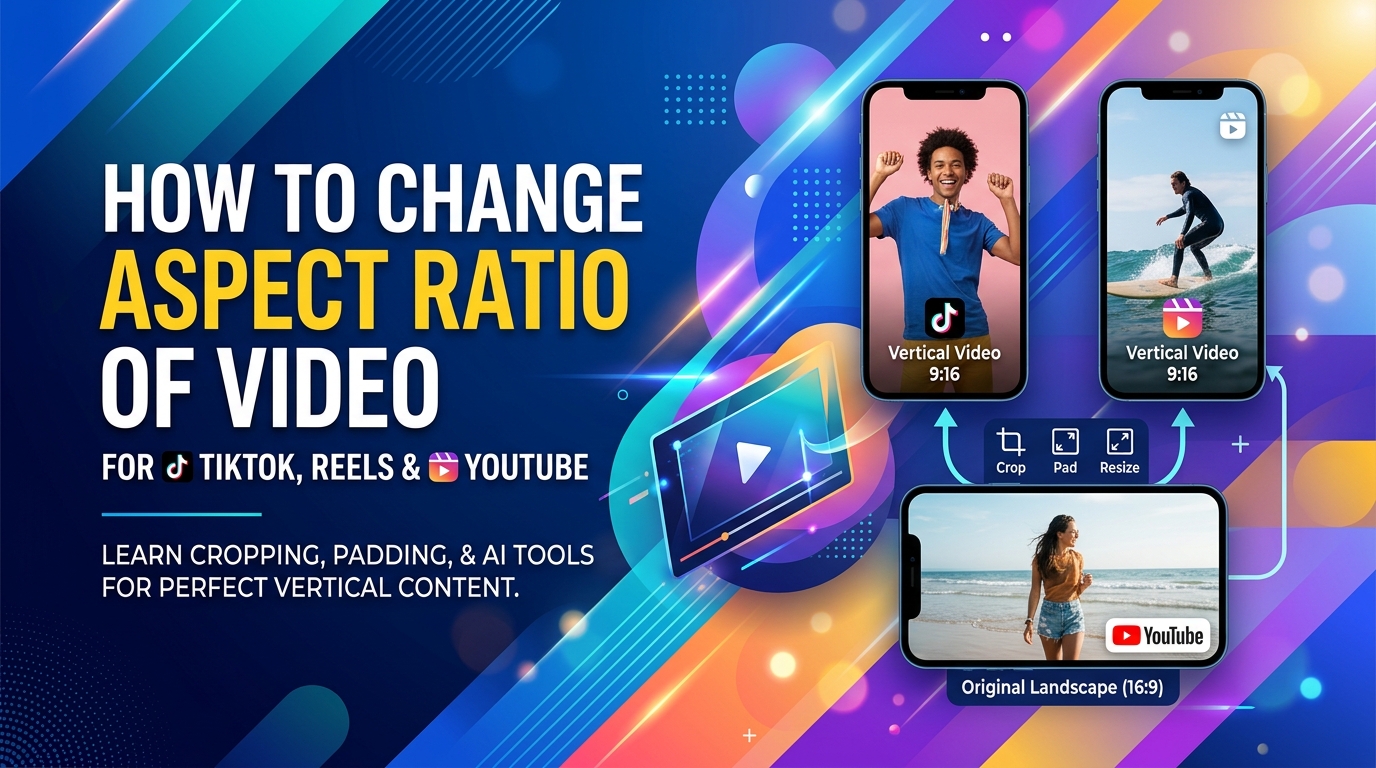
You export a video that looks sharp on your laptop. Then you post it to TikTok, Reels, or Shorts and it suddenly looks cramped, tiny, or badly cropped. The edit didn’t get worse. The frame stopped matching the platform.
That’s why learning how to change aspect ratio of video matters so much for social media. It isn’t a cosmetic fix. It changes whether people can comfortably watch your content on a phone, whether your subject stays visible, and whether your best moments survive the upload.
Most new creators treat aspect ratio like a final export setting. In practice, it’s a framing decision. Sometimes you should crop. Sometimes you should keep the full frame and accept bars. Sometimes AI reframing saves the edit. And sometimes the smarter move is to stop retrofitting old footage and create for vertical from the start.
Why Your Awesome Video Looks Awful on TikTok
A common mistake goes like this. You shoot in 16:9, edit for YouTube, add text near the edges, and pace the cuts well. On desktop, it looks clean.
Then you upload the same file to a vertical feed.
Now your video sits in the middle of the screen like a postage stamp. Black space surrounds it. The captions feel small. The subject is farther away than it should be. If the app crops automatically, it may cut off your face, product, or on-screen text.
That’s not bad editing. That’s a framing mismatch.
The reason is simple. TikTok, Reels, and Shorts are built around the phone being held upright. The shift to 9:16 vertical changed how creators have to think about composition. Platforms like TikTok reached over 1.5 billion monthly active users by 2023, and vertical formats occupy 100% of mobile screens while horizontal videos only fill part of that space, helping drive up to 66% higher engagement rates according to platform analytics in this verified source: vertical video format data and platform context↗.
That explains why a strong horizontal video can still underperform in a vertical feed. It asks the viewer to work harder. They have to focus on a smaller active image area while the feed around it is designed for full-screen immersion.
Practical rule: If the platform is consumed mainly through vertical scrolling, your frame should usually match that behavior unless you have a clear reason not to.
This is also why aspect ratio should be decided before you publish, not after a post flops. A platform-native frame affects:
- Subject size: Faces and products need to feel close enough on mobile.
- Text placement: Edge-safe captions in horizontal often become unusable in vertical.
- Attention retention: The bigger and cleaner the frame, the less friction for the viewer.
A lot of creators treat poor performance as a hook problem, but the video never looked native to the feed in the first place. If you publish often, it helps to keep an eye on workflow ideas and repurposing tactics like the ones discussed on the DailyShorts blog↗.
Understanding Aspect Ratio vs Resolution
People mix these up constantly. Once you separate them, video resizing gets much easier.
Aspect ratio is the shape of the video frame.
Resolution is the pixel count inside that shape.
Think of aspect ratio as the frame on a wall, and resolution as how much detail the image inside that frame contains.

The shape comes first
If your video is 16:9, it’s wide. If it’s 9:16, it’s tall. If it’s 1:1, it’s square.
That ratio tells you how the image will sit on the screen. It doesn’t tell you whether the file is crisp or soft.
A horizontal video can be high quality and still be the wrong shape for a vertical app. That’s why exporting at a bigger size doesn’t solve the problem.
Resolution affects detail
Resolution is usually expressed in pixels, such as 1280x720 for a 16:9 frame or 1080x1920 for a 9:16 frame in TikTok-style vertical output, as referenced in the verified tool and platform guidance above.
Here’s the practical distinction:
| Term | What it changes | Example question |
|---|---|---|
| Aspect ratio | The shape of the frame | Should this be wide, square, or vertical? |
| Resolution | The amount of pixel detail | Will this still look sharp after export? |
If you change aspect ratio without thinking about composition, the video may get awkwardly cropped.
If you change resolution without changing aspect ratio, the video may become sharper or blurrier, but it will still be the same shape.
A lot of resizing mistakes happen because creators try to fix a framing problem with an export-quality setting.
Quick way to tell what you actually need
Use this simple check before editing:
- If the video looks tiny or boxed in on the target platform, you need an aspect ratio change.
- If the frame shape is correct but looks soft or blocky, you’re dealing with a resolution issue.
- If the subject gets cut off after resizing, the shape changed but the composition wasn’t adjusted.
Once you understand that difference, you stop guessing. You start making deliberate framing decisions, which is what good social editing really is.
Four Ways to Adapt Your Video Frame
There isn’t one universal fix. The right method depends on what’s in the shot, how much headroom you have, and whether the viewer needs to see the whole frame or just the important action.

Cropping
Cropping is the method most creators use first. You enlarge the original clip until the new frame is filled, then you reposition the shot so the important subject stays visible.
This works well when:
- The subject is centered
- The background doesn’t matter much
- You have extra room on the sides
- You’re converting a talking-head clip to vertical
Cropping usually gives the strongest result for short-form social because it fills the screen and feels native. The trade-off is obvious. You lose part of the original image.
That’s fine if the missing edges don’t matter. It’s a problem if your text, product demo, or second person in frame sits near the sides.
Padding
Padding means preserving the original frame and filling the empty space with bars or background area. In vertical conversion, that often means black bars above and below a wide clip, or on the sides of a narrow one.
Padding is useful when the full composition matters more than full-screen immersion.
Good use cases include:
- Screen recordings
- Slides or tutorials
- Interviews with multiple people
- Shots where edge detail is essential
The downside is that the video can feel less native in a vertical feed. It protects the image, but it doesn’t maximize visual presence.
If the viewer needs to see everything, padding is often the honest choice. A full frame with bars is better than a full-screen crop that removes the point of the shot.
Stretching
Stretching forces the old frame into the new shape. It fills the screen, but it distorts the image.
Faces widen. Products look misshapen. Motion feels off.
There are very few cases where this is a good idea. Stylized meme edits sometimes get away with it on purpose. For most business, educational, or creator content, it looks like a mistake.
Use stretching only if the distortion is part of the joke. Otherwise skip it.
AI reframing
AI reframing is the most useful option when your clip has movement or when the subject isn’t perfectly centered. Instead of just zooming and cropping, the tool detects the main subject and adjusts framing more intelligently.
That makes a big difference in clips like:
- Walking shots
- Interviews with slight movement
- Product demos with hand motion
- Podcasts cut into vertical snippets
Some creators pair this with planning tools before they even edit. If you’re building short-form content around a single idea, a prompt-based tool like the TikTok script generator↗ can help shape a clip that’s easier to frame tightly from the start.
Which method usually wins
Here’s the shortcut I use.
| Method | Best for | Main drawback |
|---|---|---|
| Cropping | Talking heads, simple subject-focused clips | Loses edge content |
| Padding | Tutorials, slides, multi-subject scenes | Feels less native on mobile |
| Stretching | Rare stylized edits | Distorts the image |
| AI reframing | Motion-heavy clips, repurposing long-form footage | Still needs review on complex shots |
If you remember one thing, remember this. Resizing is not a technical export task. It’s a composition decision. The software only applies the method. You still have to choose the right one.
A Practical Guide to Resizing Your Videos
Once you know whether to crop, pad, or reframe, the tool becomes much less important. Most editors can do the job. The difference is how much manual cleanup they require.
Start with the simplest rule. Duplicate your project before changing aspect ratio. That keeps your original framing intact and lets you create different versions for different platforms without wrecking the first edit.

Adobe Premiere Pro
Premiere Pro is still the easiest place to handle serious repurposing if you already edit there. Its reframing workflow is useful when you have finished horizontal footage and want vertical cutdowns without rebuilding the project.
A practical workflow looks like this:
- Duplicate your sequence. Keep the original untouched.
- Change the sequence frame shape to a vertical layout for your target platform.
- Use Auto Reframe or the equivalent reframing controls if available in your version.
- Review every clip manually. Fast camera moves, multiple people, and text overlays often need adjustment.
- Rebuild text placement. Captions and graphics that worked in 16:9 usually need repositioning in 9:16.
Premiere does a solid job on clips with one clear subject. It struggles more when the important visual element changes mid-shot. That’s normal. Automated reframing gets you close. It doesn’t remove editorial judgment.
Microsoft Clipchamp
Clipchamp is more approachable for many creators because the controls are straightforward and the aspect-ratio presets are visible right in the editor. In verified platform guidance, Microsoft Clipchamp supports non-destructive project resizing with presets like 9:16 and 1:1, and toggling Fill on a selected clip uses content-aware auto-cropping to fit the new frame. The same verified source says user studies reported a 98% success rate, and notes the feature is important for improving Reels completion rates by up to 40% in that context: Microsoft Clipchamp aspect ratio workflow and Fill behavior↗.
Here’s the practical sequence inside Clipchamp:
- Deselect all assets so the global size control appears.
- Click Size and preview the new ratio.
- Choose the target ratio, such as 9:16.
- Select each clip on the timeline.
- Use Fill if you want the frame to fully occupy the canvas.
- Switch to Fit if cropping removes something important.
- Drag the clip inside the preview to reposition the subject.
What works well here is speed. What doesn’t work is assuming one setting will fix the whole timeline. Multi-clip edits still need clip-by-clip review.
Editing habit: The moment you resize, scan every cut for chopped foreheads, missing hands, and text too close to the edge.
CapCut
CapCut is often the fastest route for mobile-first creators because it was built around short-form behavior. You can resize a project quickly, pinch to scale the clip, and reposition the frame with your finger or mouse.
CapCut is good for:
- Fast social repurposing
- Creators editing directly from phone footage
- Template-driven shorts
- Simple talking-head clips
The main weakness is precision on more complex projects. If you’re handling layered graphics, multiple framing zones, or longer repurposed interviews, desktop tools usually give you more control.
FFmpeg for technical users
If you’re comfortable with command-line tools, FFmpeg can batch-convert files and save time when you have lots of exports. It’s useful when your need is consistent and repetitive, like making archive clips into one standard social format.
Use FFmpeg when:
- You need bulk conversion
- You already know the exact crop or pad approach
- You’re automating a pipeline
Don’t use it if you still need to decide creative framing. FFmpeg is efficient, but it won’t make composition choices for you.
When AI reframing is the better call
Some footage is just annoying to resize manually. Podcasts with two speakers. Product demos where hands move in and out. Walk-and-talk shots. That’s where AI reframing earns its place.
This embedded walkthrough gives a useful visual example of an automated resizing workflow:
If you’re experimenting with AI-generated footage as part of that workflow, tools for synthetic visuals can also reduce how much old horizontal footage you have to salvage. One example is Veo-based video generation tools↗, which some creators use when they need fresh scenes built for social-first output rather than adapted after the fact.
The practical test before export
Before you hit export, check four things:
| Check | What to look for |
|---|---|
| Subject framing | Face, hands, or product stays visible through the whole clip |
| Text safety | Captions and titles aren’t hugging the edges |
| Cut consistency | Adjacent clips don’t jump between wildly different zoom levels |
| Platform feel | The video looks native to the feed, not squeezed into it |
That final check matters most. A resized video should feel intentionally framed, not rescued at the last minute.
Stop Resizing and Start Generating with AI
Manual resizing is still useful. You need it when repurposing old footage, re-editing a webinar, or cutting clips from a podcast.
But there’s a point where constant reframing becomes wasted effort. If you publish short-form content regularly, the better workflow is often to create in the target format from the start.

That’s where AI-native creation changes the equation. Verified data on AI reframing tools says they can reduce editing time by 90%, and that vertical videos on target platforms can achieve 9x higher completion rates. The same verified source notes that 50,000+ creators use DailyShorts and that auto-generated 9:16 content is central to that workflow: AI reframing and vertical completion context↗.
The strategic advantage isn’t just speed. It’s that the whole asset gets designed around vertical viewing. Script pacing, visual composition, subtitle placement, and scene changes can all be built for the frame that will be used.
That removes several common problems:
- No retroactive cropping after the edit is done
- No rescue work for text placed too wide
- No guessing which parts of the horizontal shot should survive
- Less manual review on every export variation
For creators who also need to recover quality from older footage, it can help to pair a vertical-first workflow with tools that sharpen low-quality source files. If that’s relevant, this guide to video upscaling software↗ is worth reading before you re-edit archived clips.
A practical example of this AI-native approach is an AI TikTok video generator↗ that turns a topic into a short-form video with script, visuals, voiceover, and editing already prepared for platform-native output. That doesn’t replace every manual editing task. It does remove a lot of avoidable resizing work.
The cleanest fix for an aspect-ratio problem is not needing to fix it in the first place.
Social Media Aspect Ratio Cheat Sheet for 2026
If you post across multiple platforms, save this section. The exact same clip may need a different frame depending on placement.
Some platforms are flexible. Others strongly favor a specific orientation. The safest move is to export with the placement in mind rather than relying on an app to crop it for you.
A lot of creators also choose tools based on how easily they can switch among these outputs. If you’re comparing creation workflows rather than just editors, this roundup on the best app to make a reel↗ can help narrow down what fits your style.
Optimal Video Aspect Ratios by Platform 2026
| Platform | Placement | Recommended Aspect Ratio | Typical Resolution |
|---|---|---|---|
| TikTok | Feed videos | 9:16 | 1080x1920 |
| Reels | 9:16 | Vertical export | |
| Stories | 9:16 | Vertical export | |
| Feed post | 4:5 or 1:1 | Platform-specific export | |
| YouTube | Shorts | 9:16 | Vertical export |
| YouTube | Standard videos | 16:9 | 1280x720 and other 16:9 exports |
| Video post | 1:2.4 favored | Platform-specific export | |
| X | Video post | Range from 1:2.39 to 2.39:1 accepted | Platform-specific export |
How to use the cheat sheet
- For vertical-first platforms: default to 9:16 unless you have a strong reason not to.
- For feed posts on Instagram: square or slightly taller frames often work better than wide horizontal frames.
- For YouTube long-form: keep the widescreen presentation.
- For cross-posting: create separate exports instead of one compromise file when quality matters.
The mistake to avoid is trying to make one frame serve every placement equally well. That usually means it serves none of them particularly well.
The Smartest Way to Frame Your Content
Good resizing comes down to one question. What matters most in this shot?
If the answer is the subject and speed of viewing, crop aggressively. If the answer is the whole composition, preserve the frame and accept padding. If motion keeps changing the focal point, use AI reframing and still review the result.
That framework is enough for most creators. It helps you decide quickly instead of clicking random presets and hoping the export looks right.
The bigger decision is workflow. If you only repurpose a clip once in a while, manual resizing is fine. If you publish constantly, repeated reframing becomes a tax on your time. In that case, it makes more sense to automate as much of the process as possible and build for vertical from the beginning.
Captions also affect framing more than people expect. Tight mobile compositions leave less room for sloppy subtitle placement, so using a dedicated video subtitle generator↗ can help keep text readable without crowding the main subject.
If you want to spend less time resizing and more time publishing, try DailyShorts↗. It turns a topic into a short-form video with script, visuals, voiceover, and editing already prepared for vertical platforms, which helps remove one of the most repetitive parts of social video production.
Ready to create viral videos?
Start creating viral TikTok and YouTube Shorts with DailyShorts AI today.